


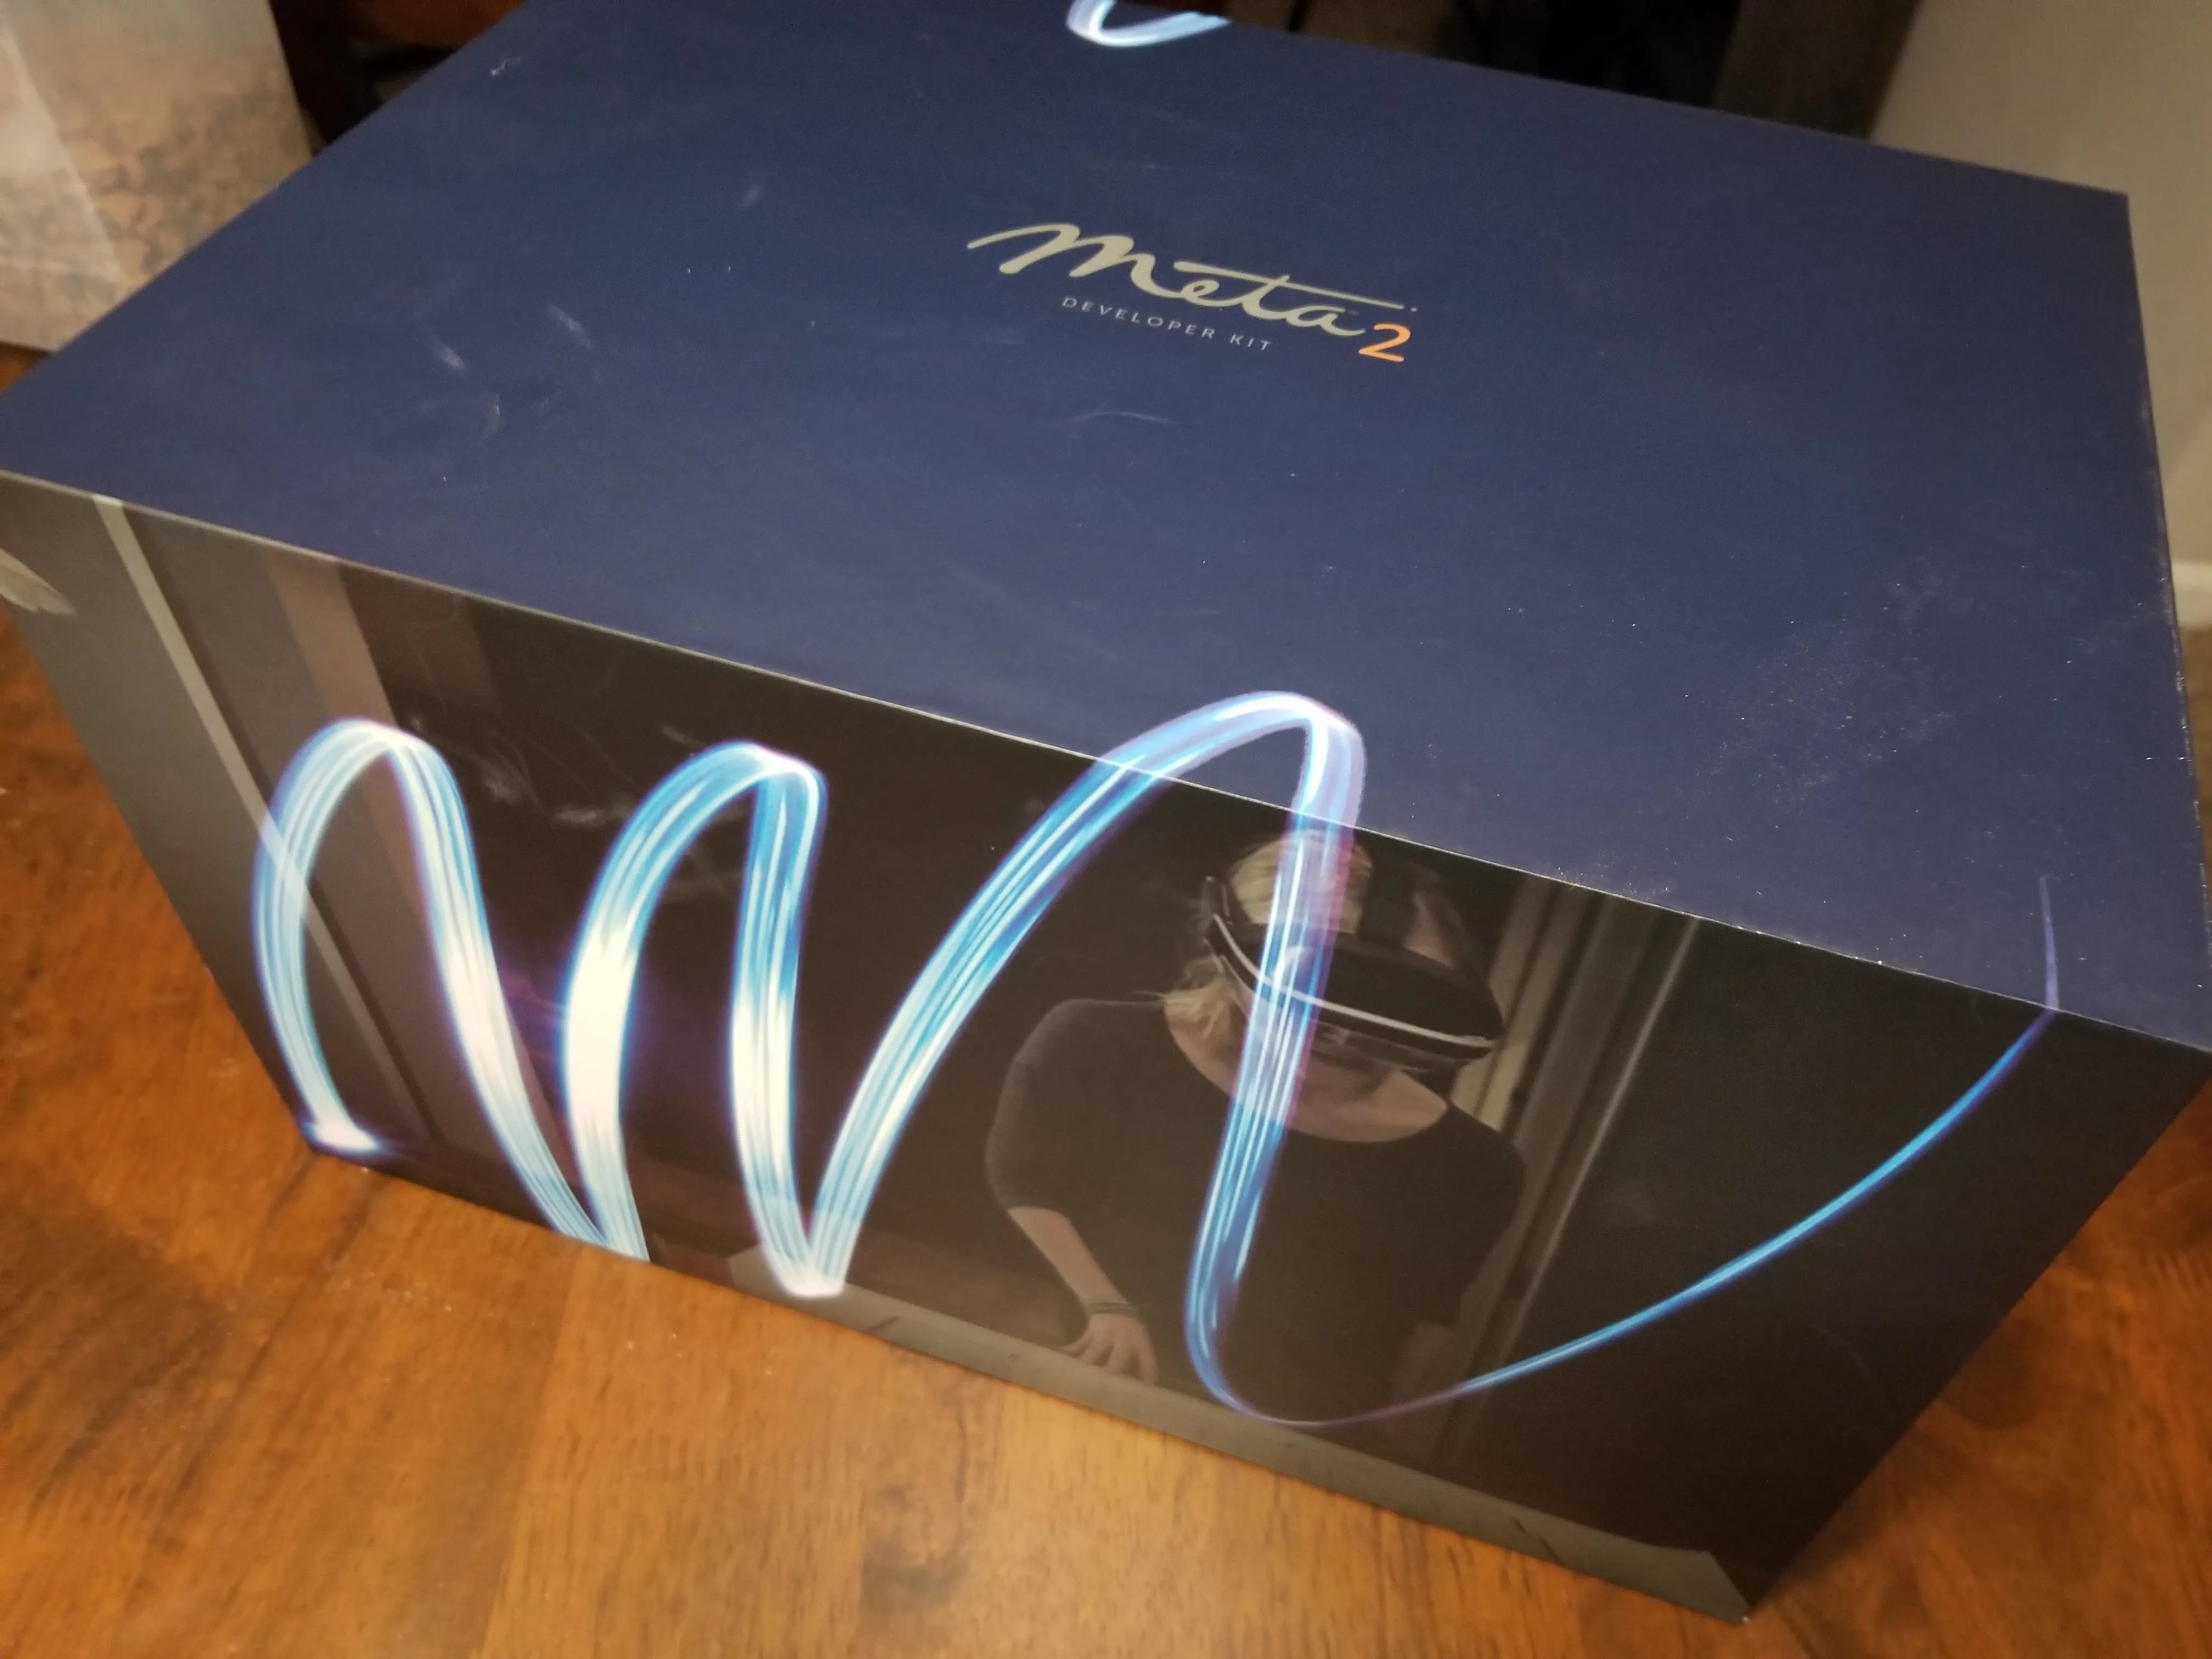
So after being teased last Christmas with an email promising that the Meta 2 was shipping, nearly a year later, we finally have one of the units that we ordered. Without a moment's hesitation, I tore the package open, set the device up, and started working with it.
To me, the term "head-mounted display" is a far more appropriate description of the Meta 2 than it is for many of the other immersive computing devices out there. In many ways, the team at Meta managed to create a complete replacement for our 2D displays. And while it is still a dev kit, and therefore needs more refinement before it's ready for the mainstream, the headset does show off what working at a desk while using augmented reality could look like very soon.
Of course, if you're reading this, I'm most likely preaching to the choir. So instead of spending more time expounding on the future of AR in the workplace, let's just get going and focus on getting started with the Meta 2.
Minimum Requirements
- Windows 10 (64-bit) operating system
- Intel Core i7 6700 or AMD FX 9590 processor
- 16 GB RAM DDR4 memory
- NVIDIA GeForce GTX 970 or AMD Radeon R9 390X graphics card
- 10 GB of hard drive space
- HDMI 1.4b video output port
- USB 3.0 or higher port
Unboxing the Meta 2
If you're one of the lucky ones who already has a Meta 2 developer kit, you've probably already started testing it out. But if you're still patiently waiting for yours to arrive, or still trying to decide if you want to get one and don't mind the spoilers, then this section is for you.
Jason Odom/Next Reality
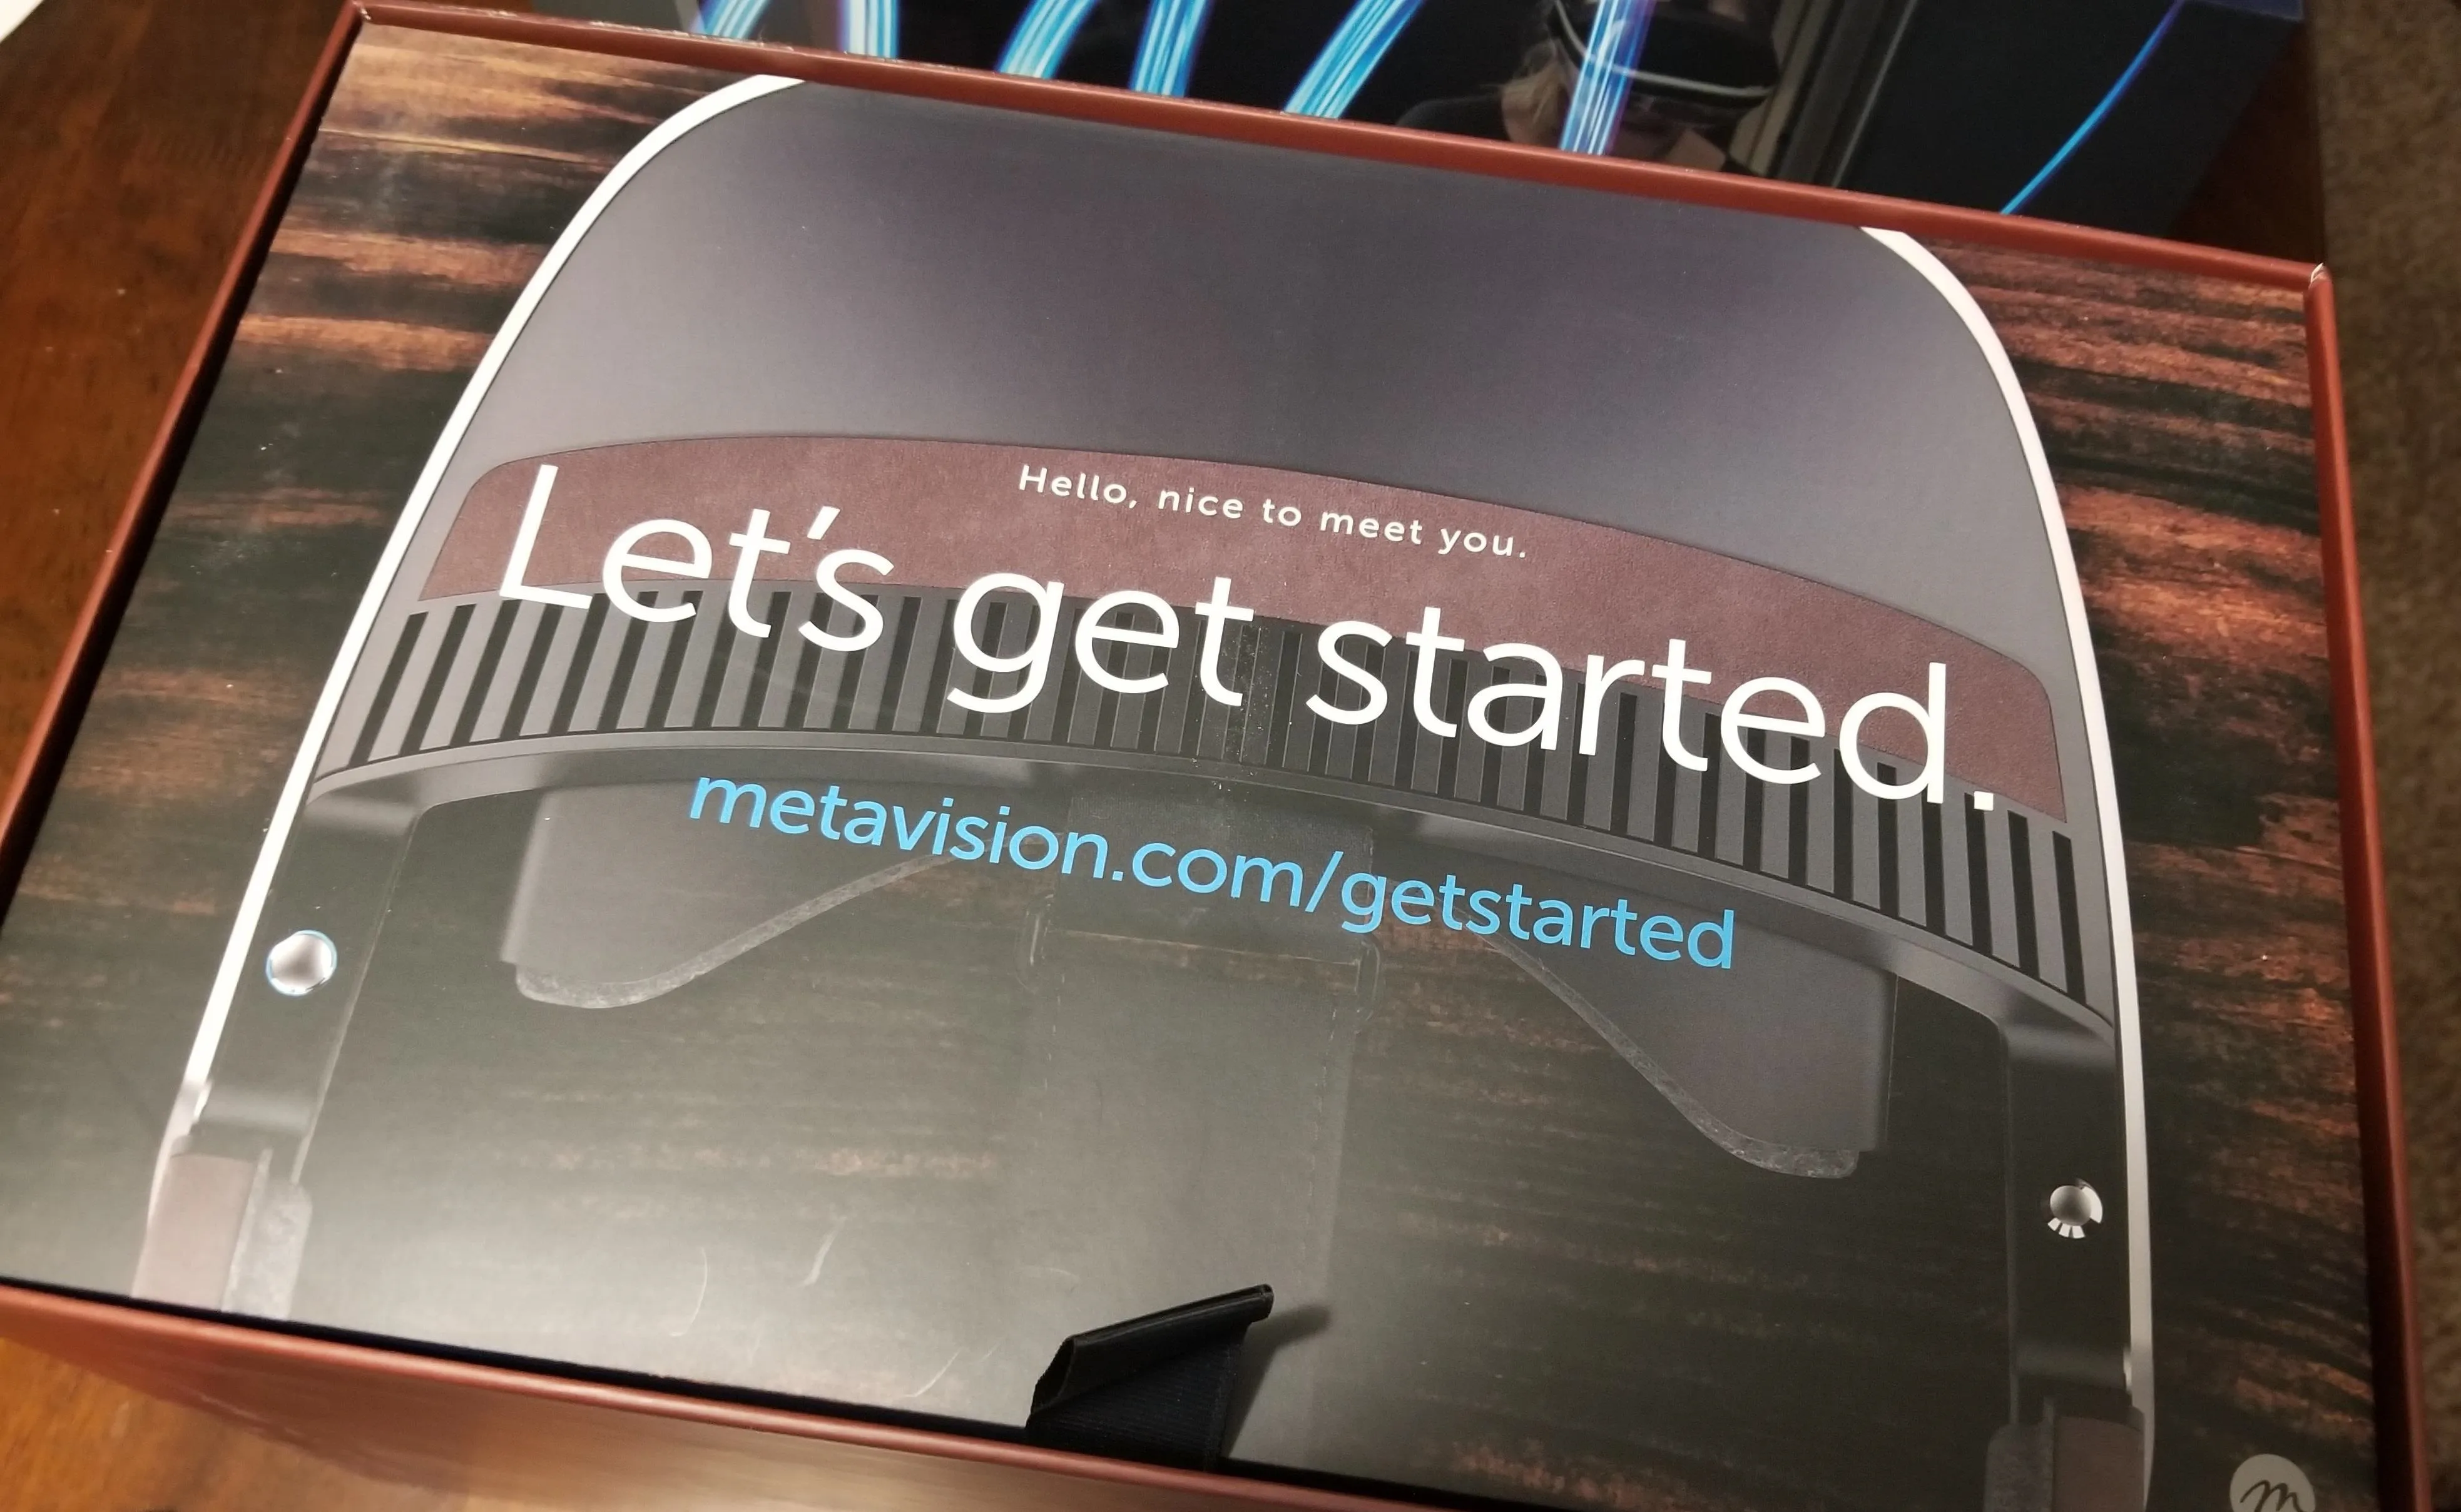
After breaking open the box, you'll be greeted with a message from your new device.
Jason Odom/Next Reality
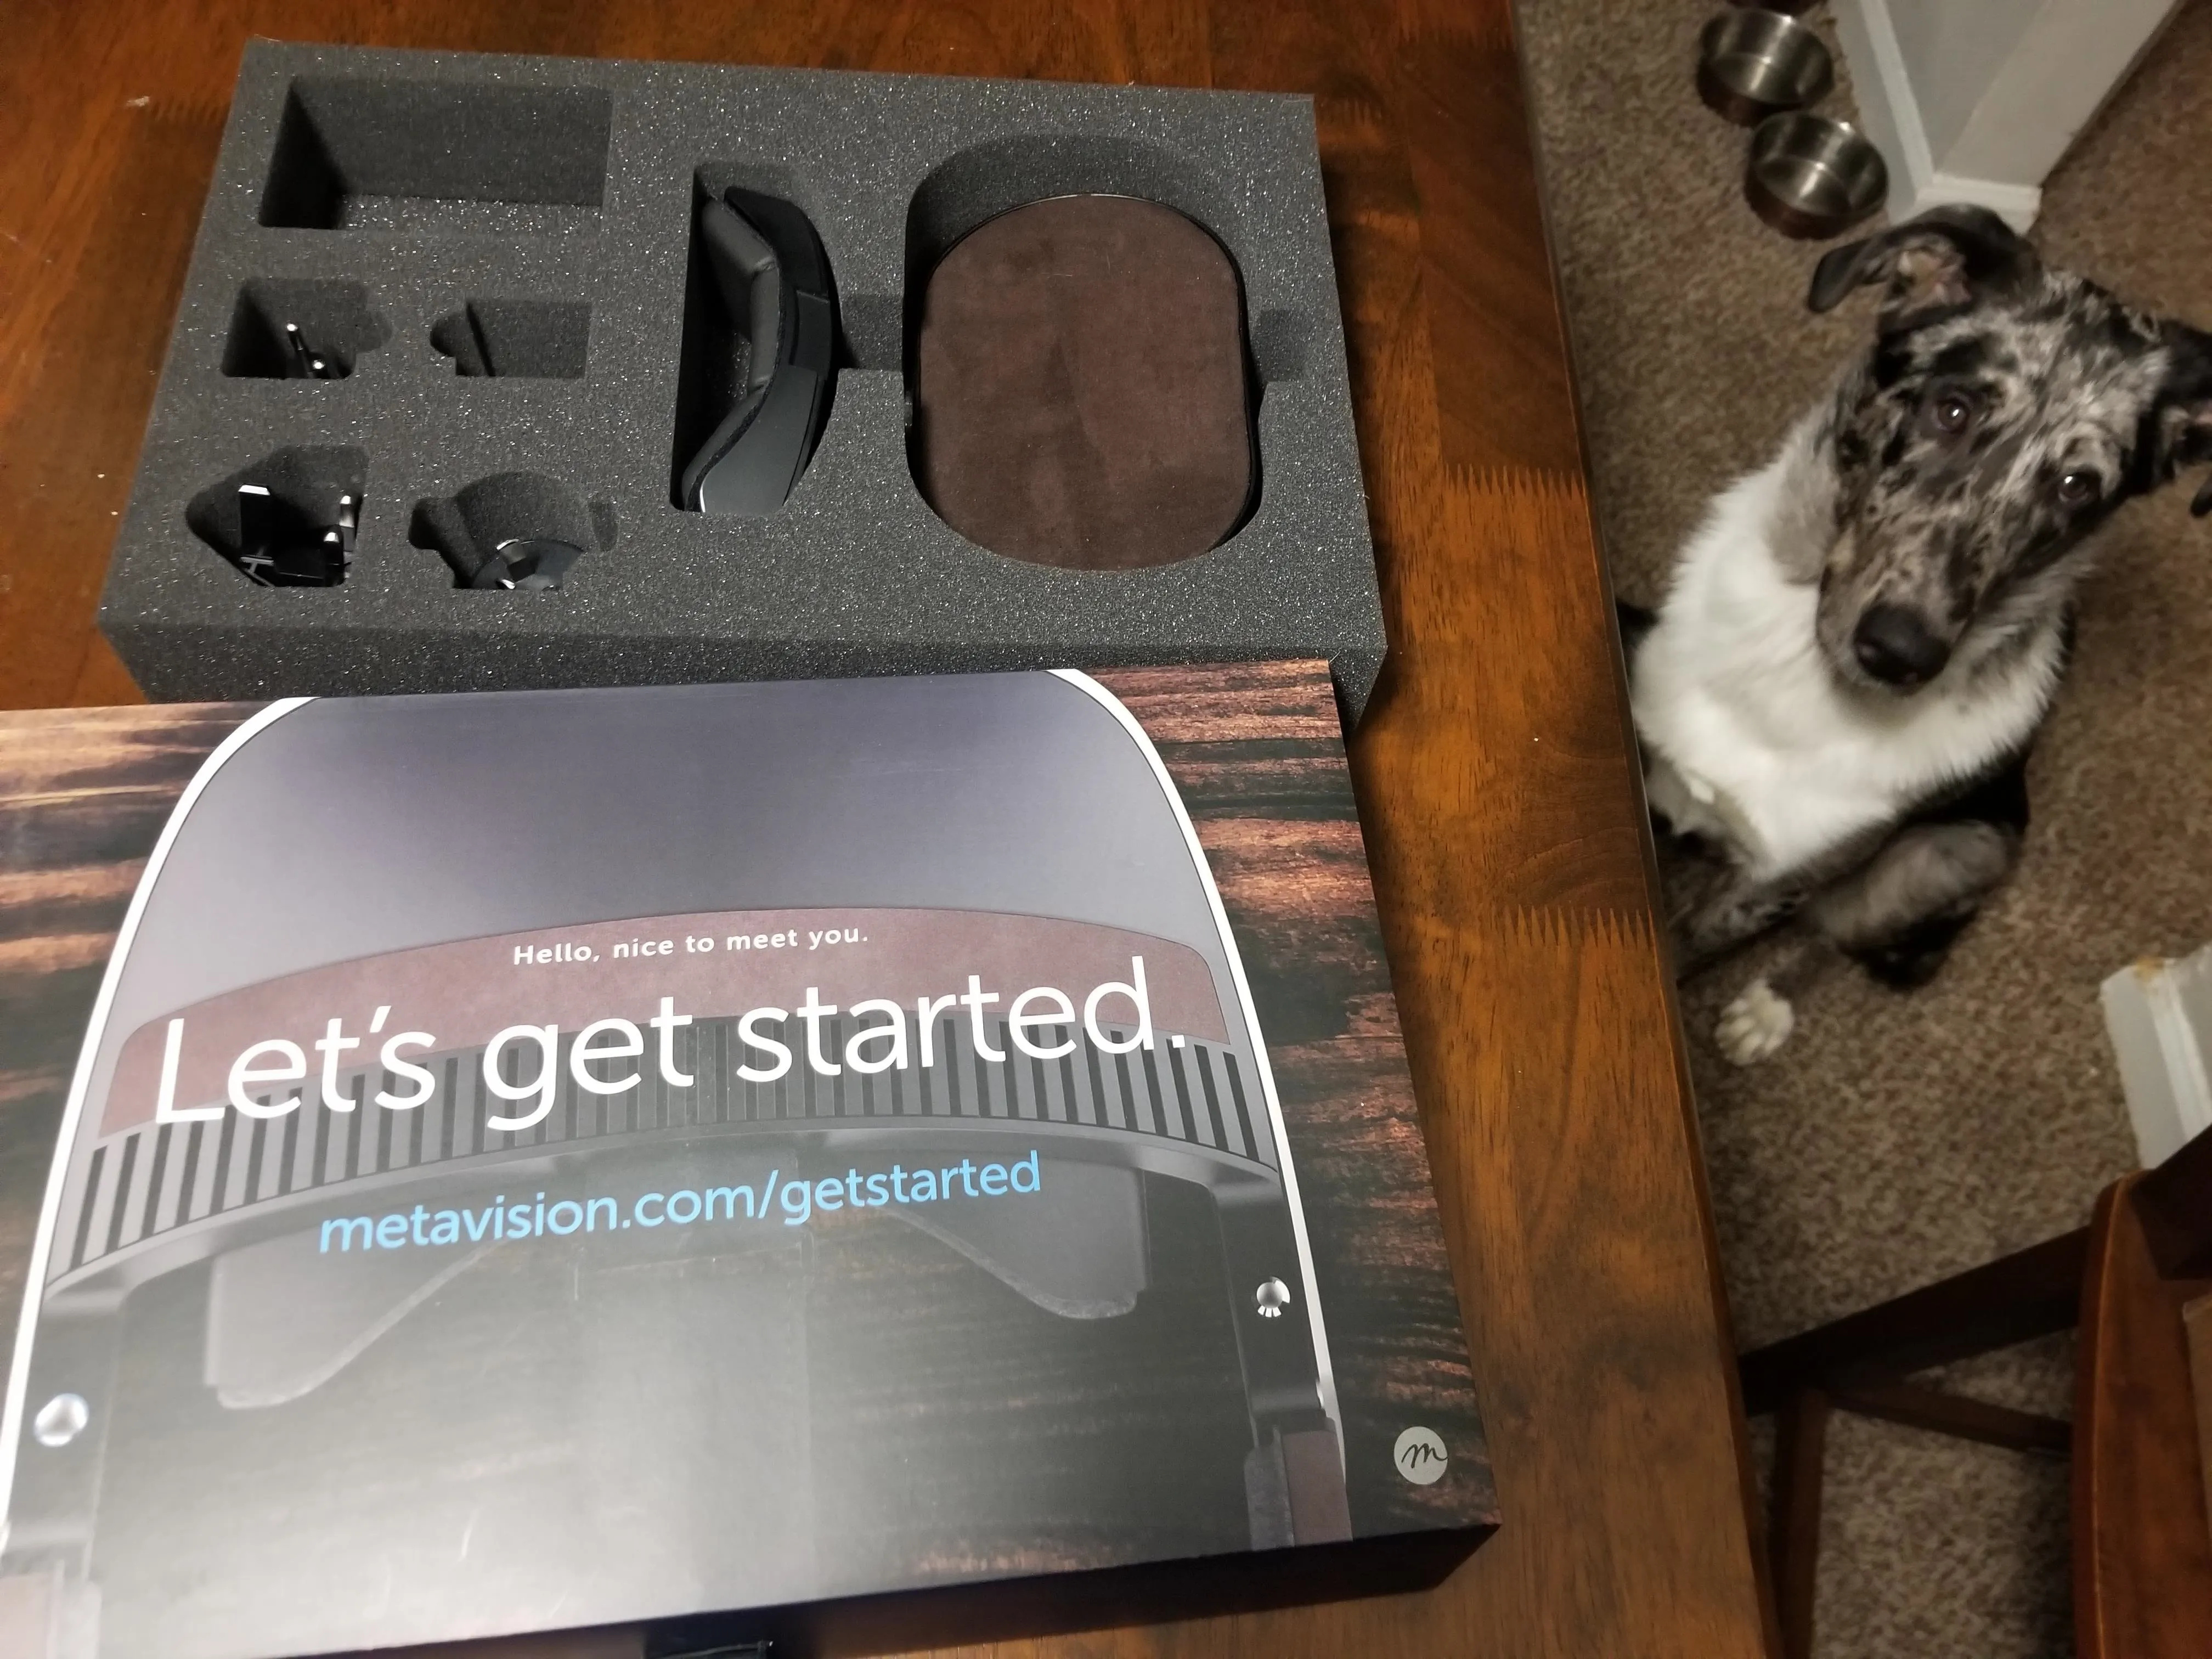
Pulling the tab will help you remove the accessories box, then you'll want to get the foam center out of it. You will see an assortment of power adapters for various locations in the world, the power supply itself (already removed from the picture below), a replacement headpiece, and a soft stand for the visor to sit on.
Oh, and say hello to Seville! He watches me intensely when I'm working on this stuff. Apparently, so intensely that, as a six-month-old border collie, he sheds everywhere. As a result, he is the source of any hair that may make its way into the pictures I take.
Jason Odom/Next Reality
Once the "Let's get started" box is removed, the bottom half of the main box looks something like this:
Jason Odom/Next Reality
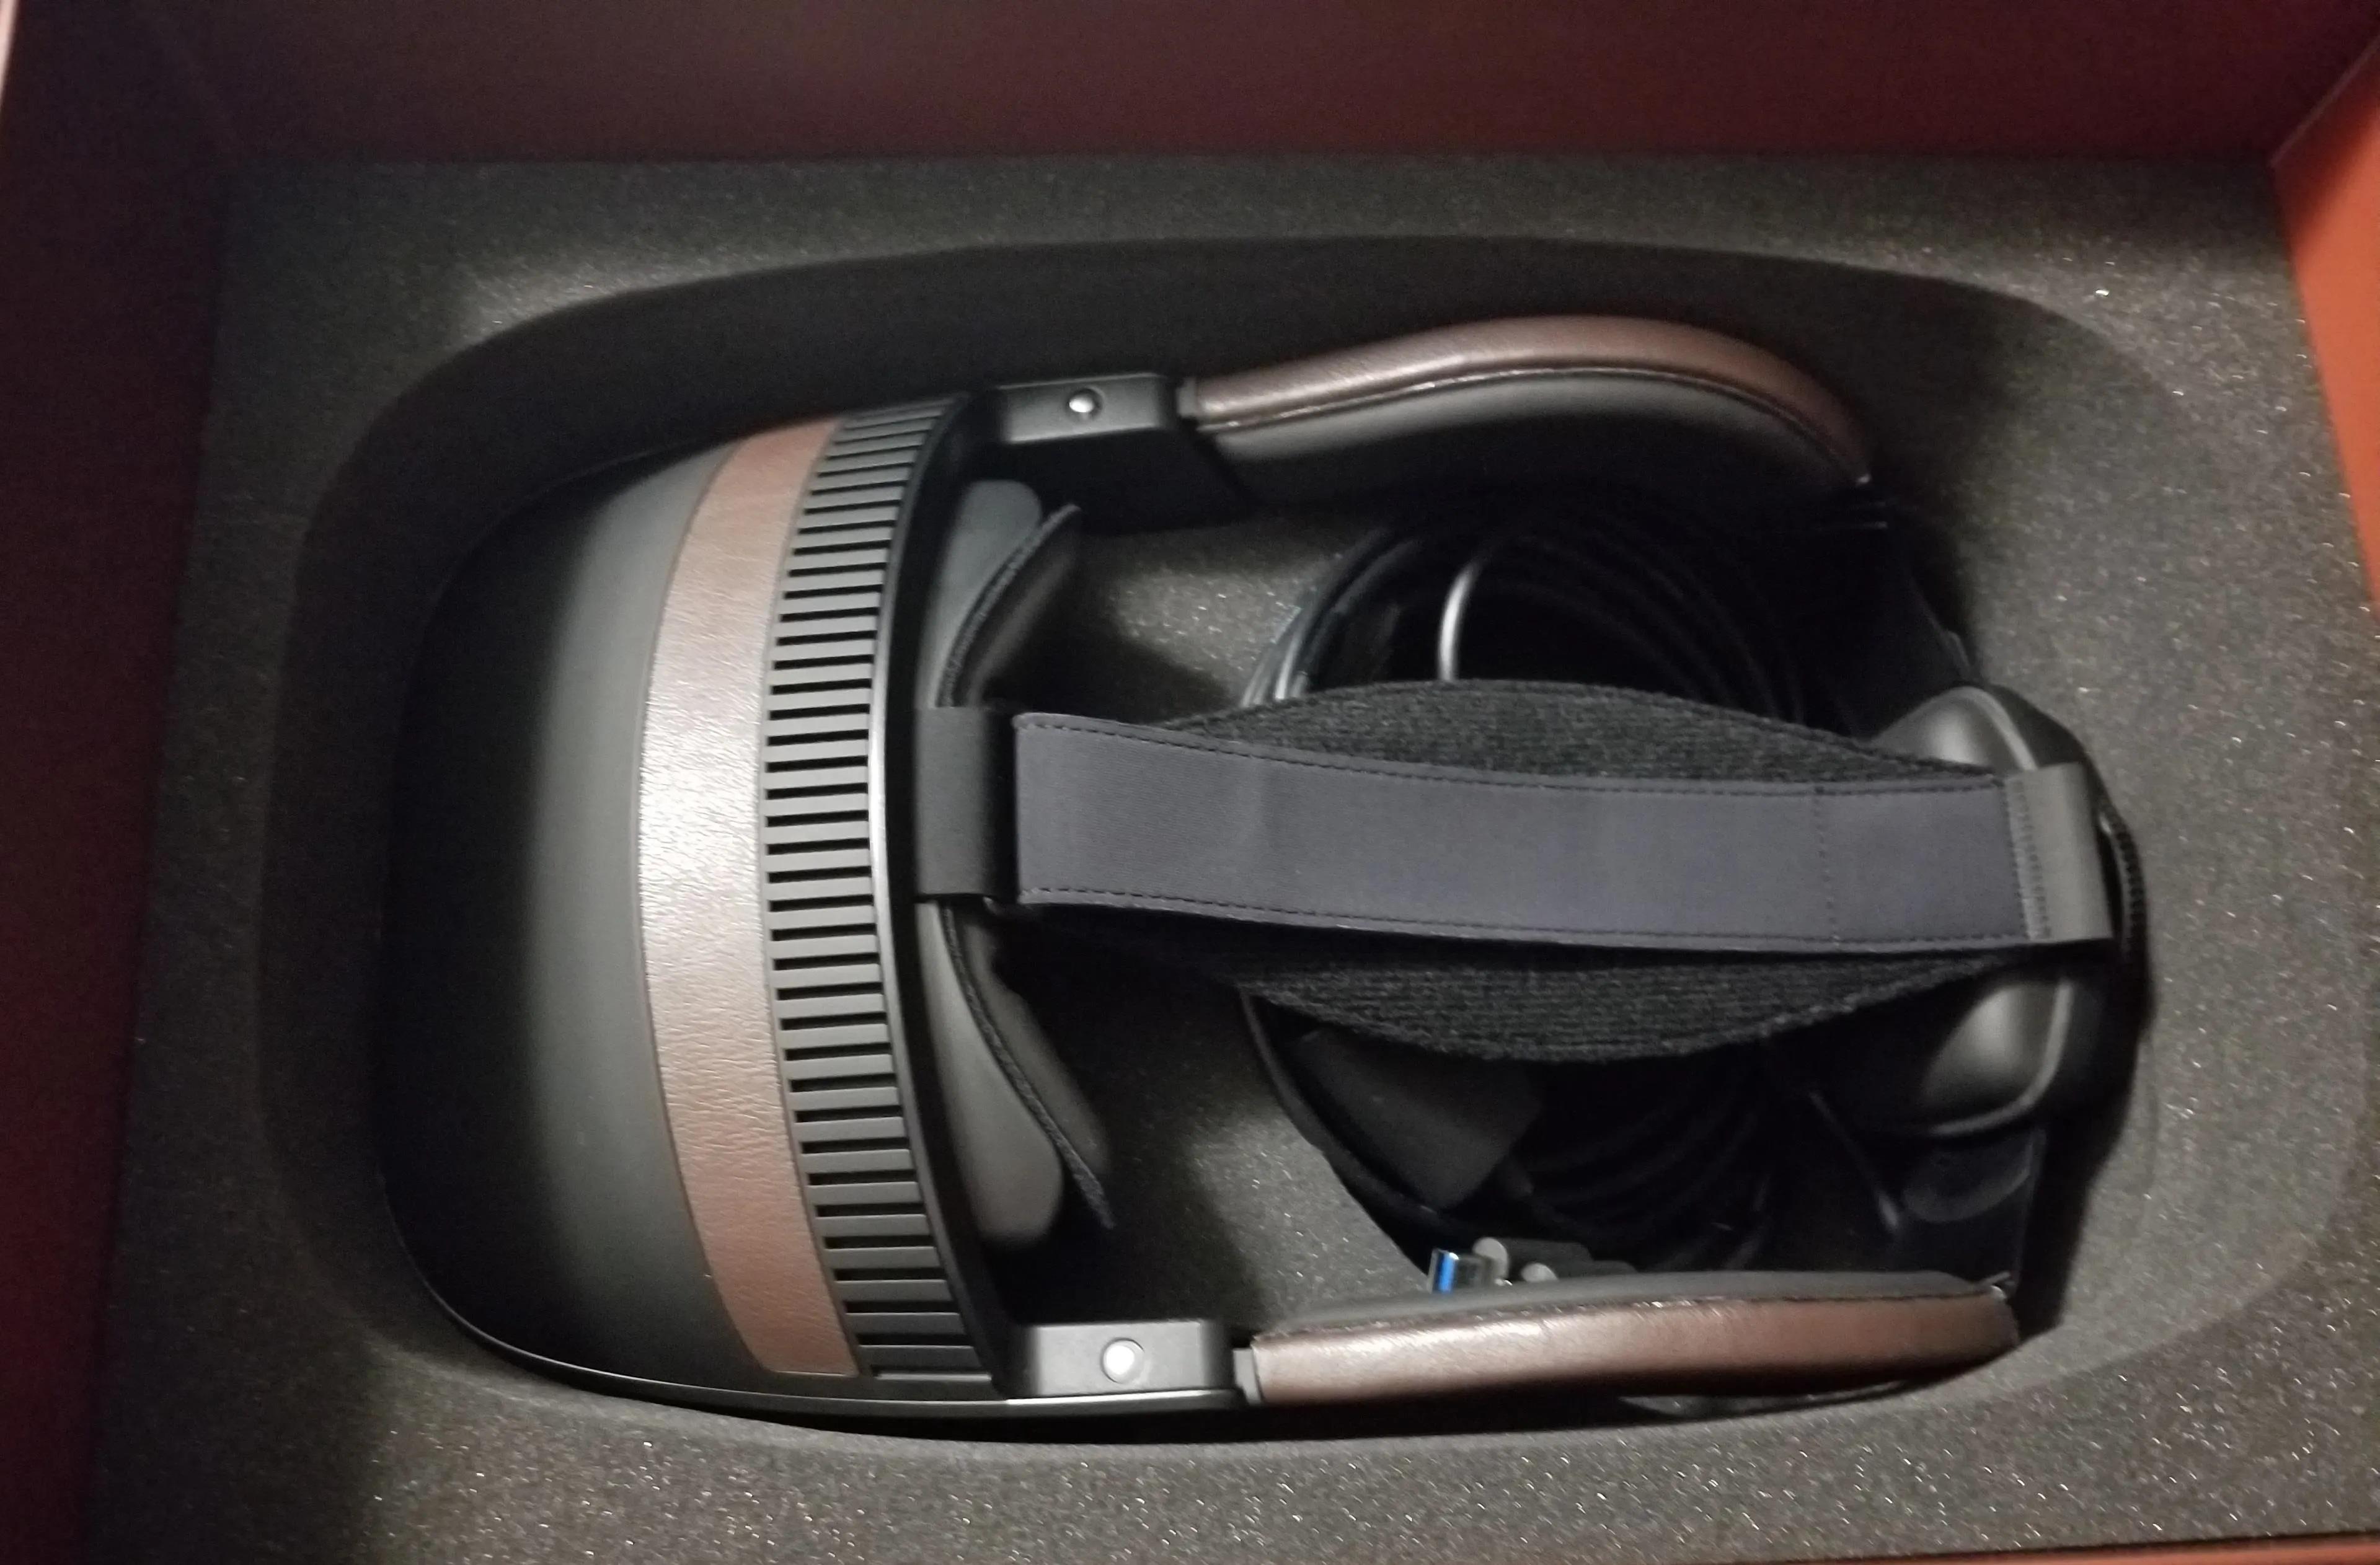
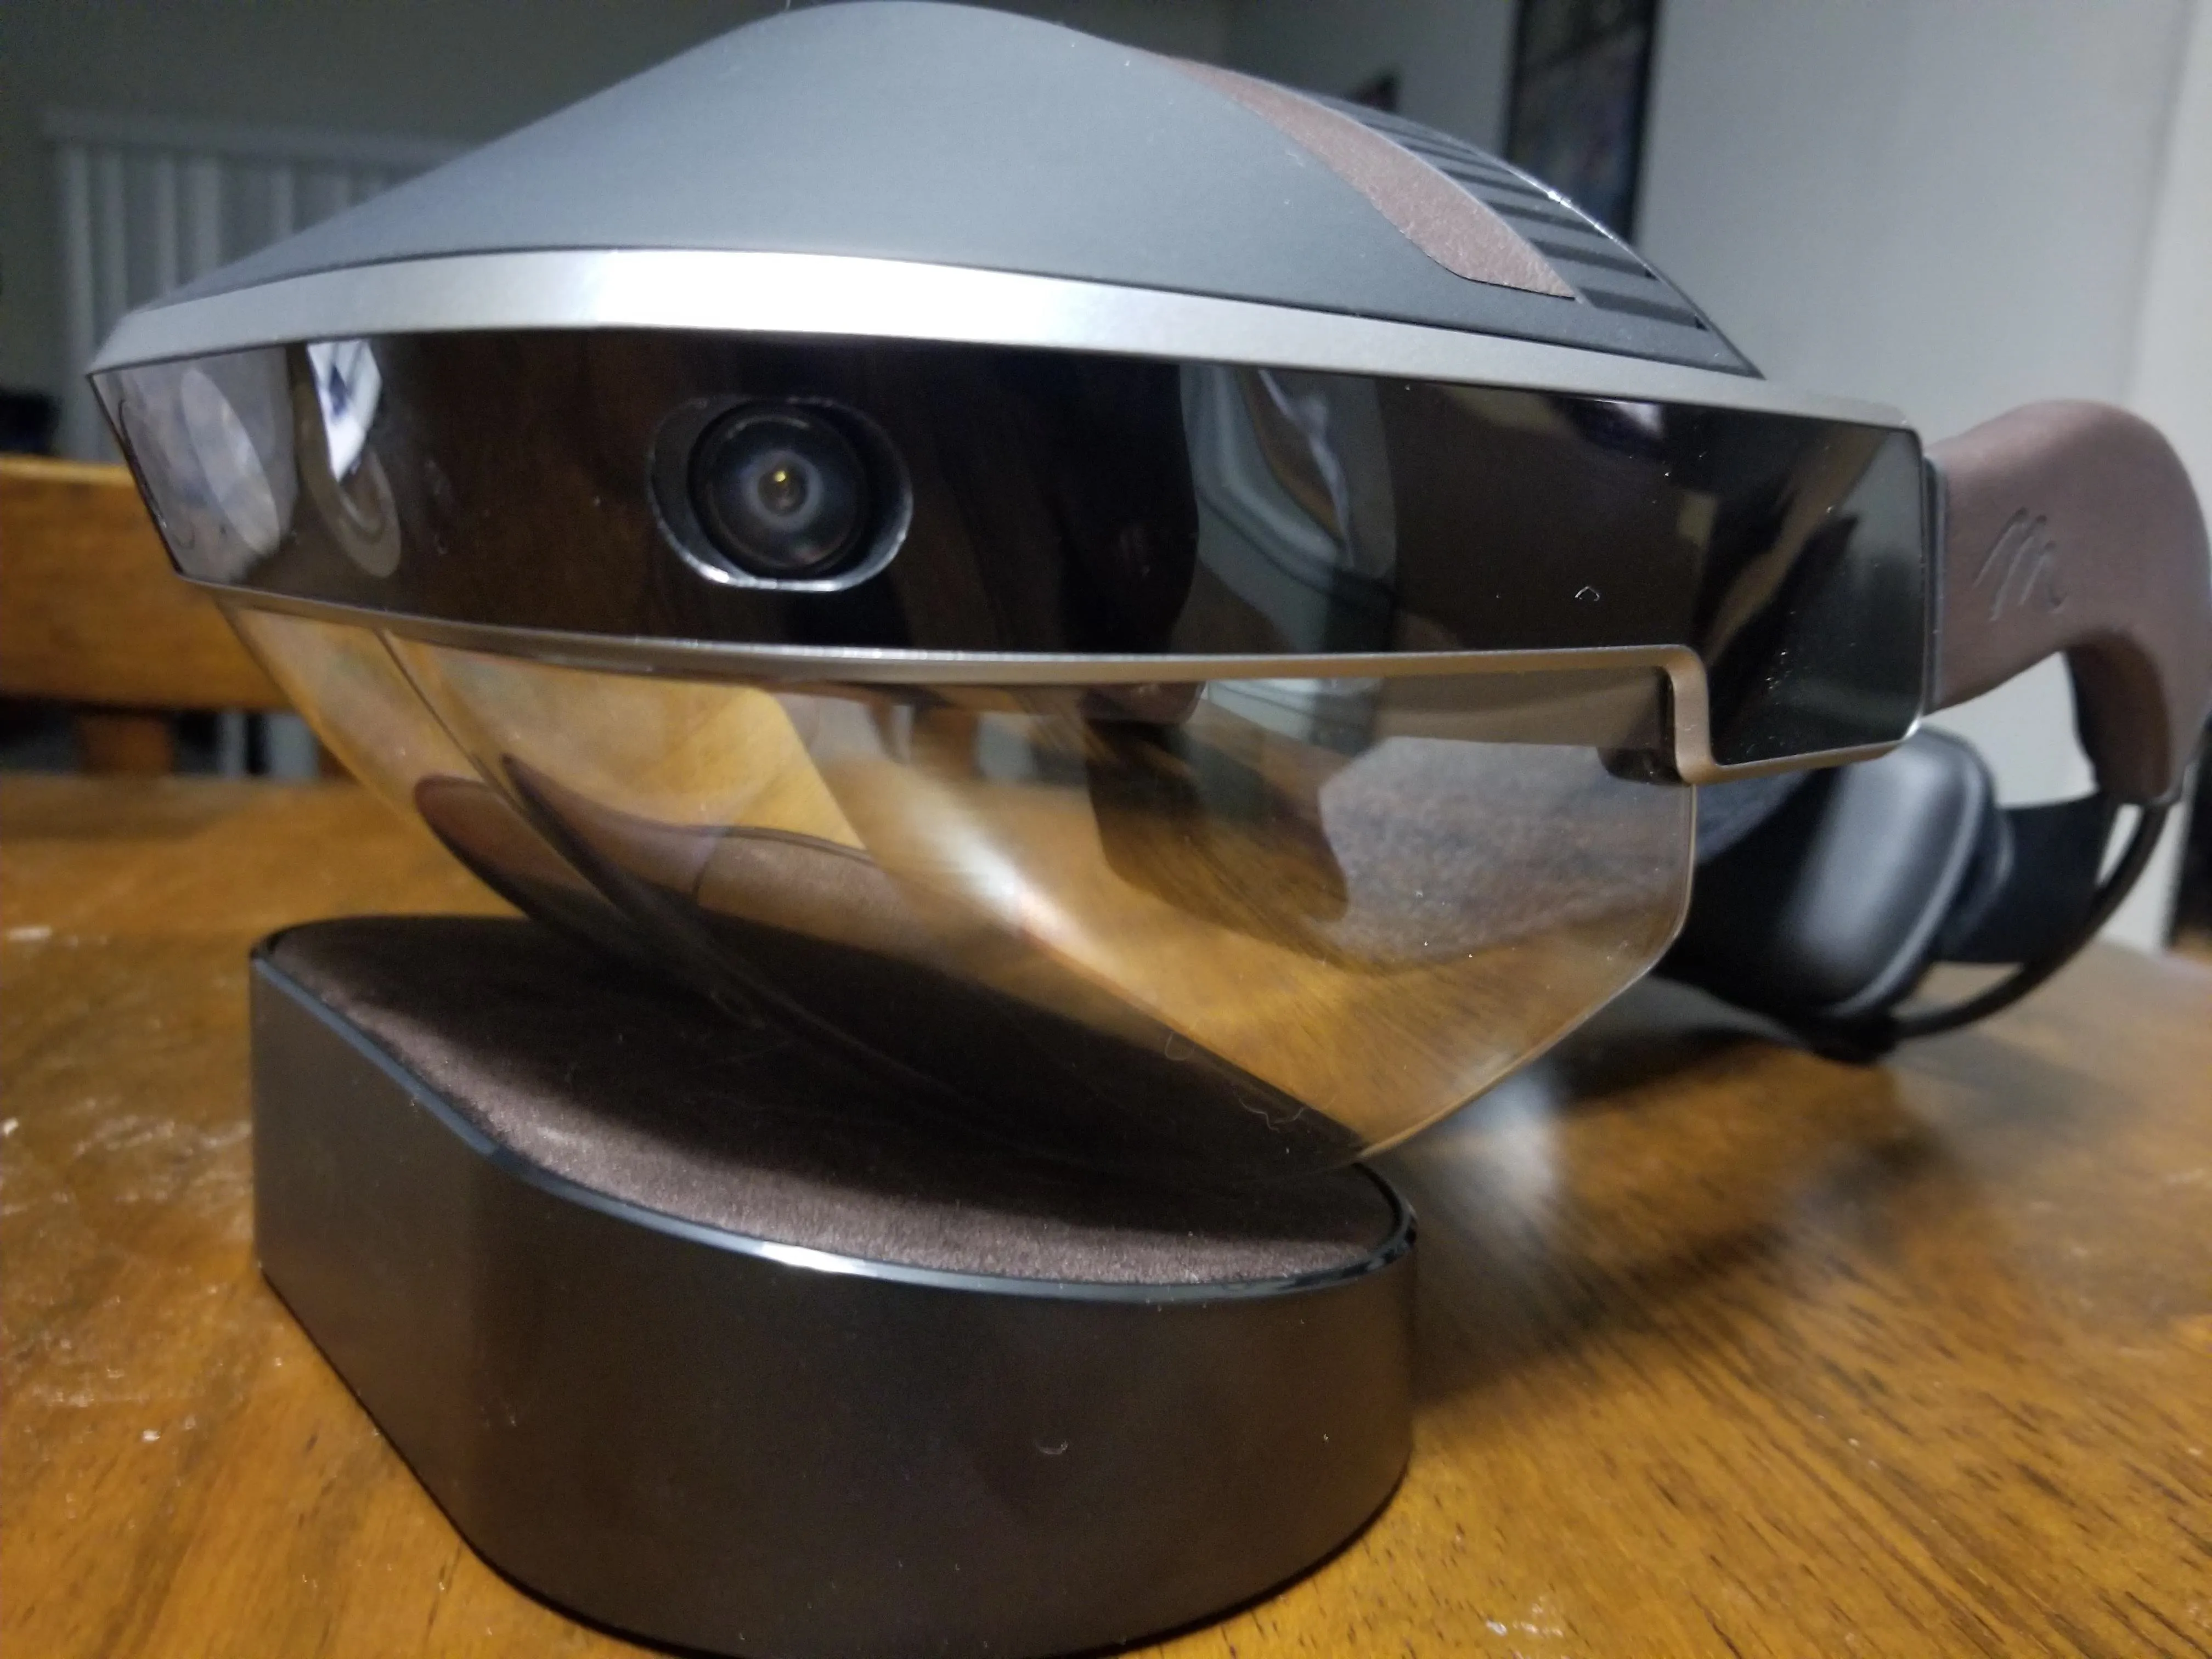
When you pull the Meta 2 out of its box, make sure to take a few minutes to drool as you gaze upon its beauty.
Jason Odom/Next Reality
Download the Software
Now that we have made it through the unboxing and have everything ready to go, it is time for the actual tutorial to begin. First up is the software installation. Fortunately, this is a short step.
Either go to the URL provided on the "Let's get started" box, which, if outdated, redirects you to the new webpage. Or you can just straight to the new URL address at devcenter.metavision.com/get-started. Once there, scroll down and a find the "Start Developing" button and select it.
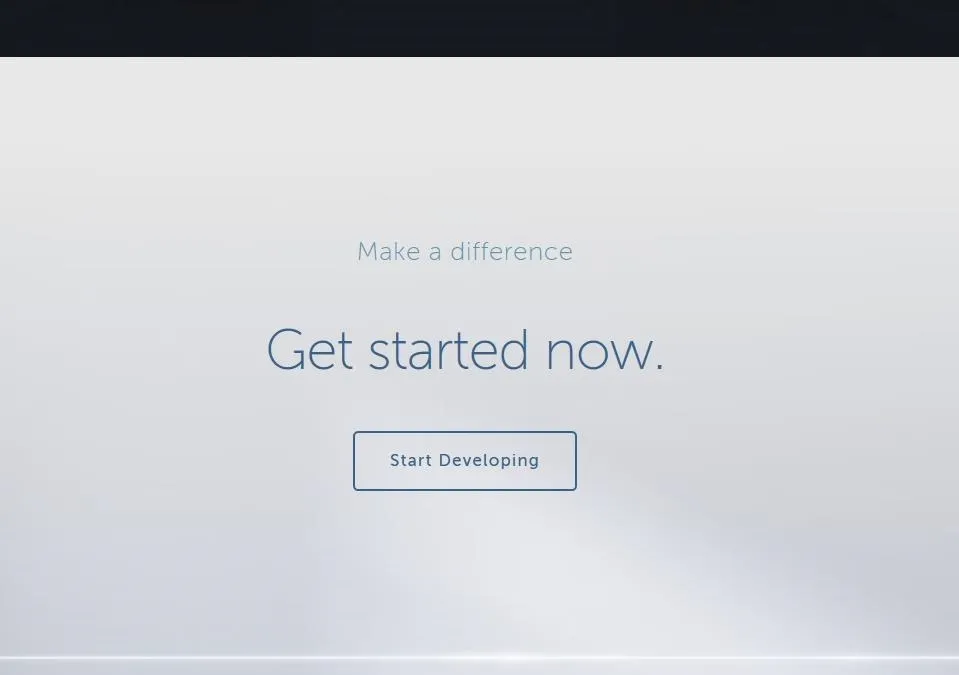
This page offers a good deal of useful information for anyone interested in AR and spatial UX development. So, once you've finished getting everything installed and set up, come back here and check it out. But for now, select "Start Developing" again.

Once you're at this page, click on the "Download Installer" button, then run the installer.

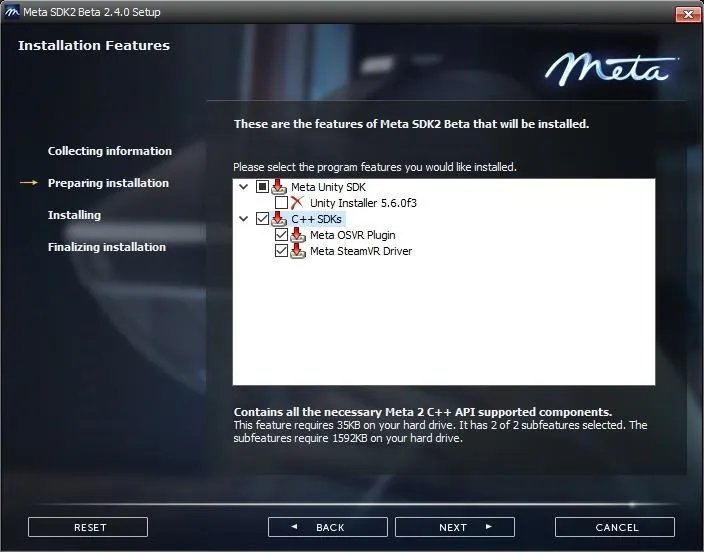
Once you get through the various agreements and have picked which directory you want to install the SDKs and applications in, you should see a window to select the components you want to install. Select the options here that applies to your development environment.
For Unity developers: While Meta officially supports Unity 5.6, there are apparently no problematic changes in Unity 2017.1, so it reportedly works fine with the device.
Select the "Next" button a few more times when prompted and the application will go through its installation process.
Set Up the Hardware
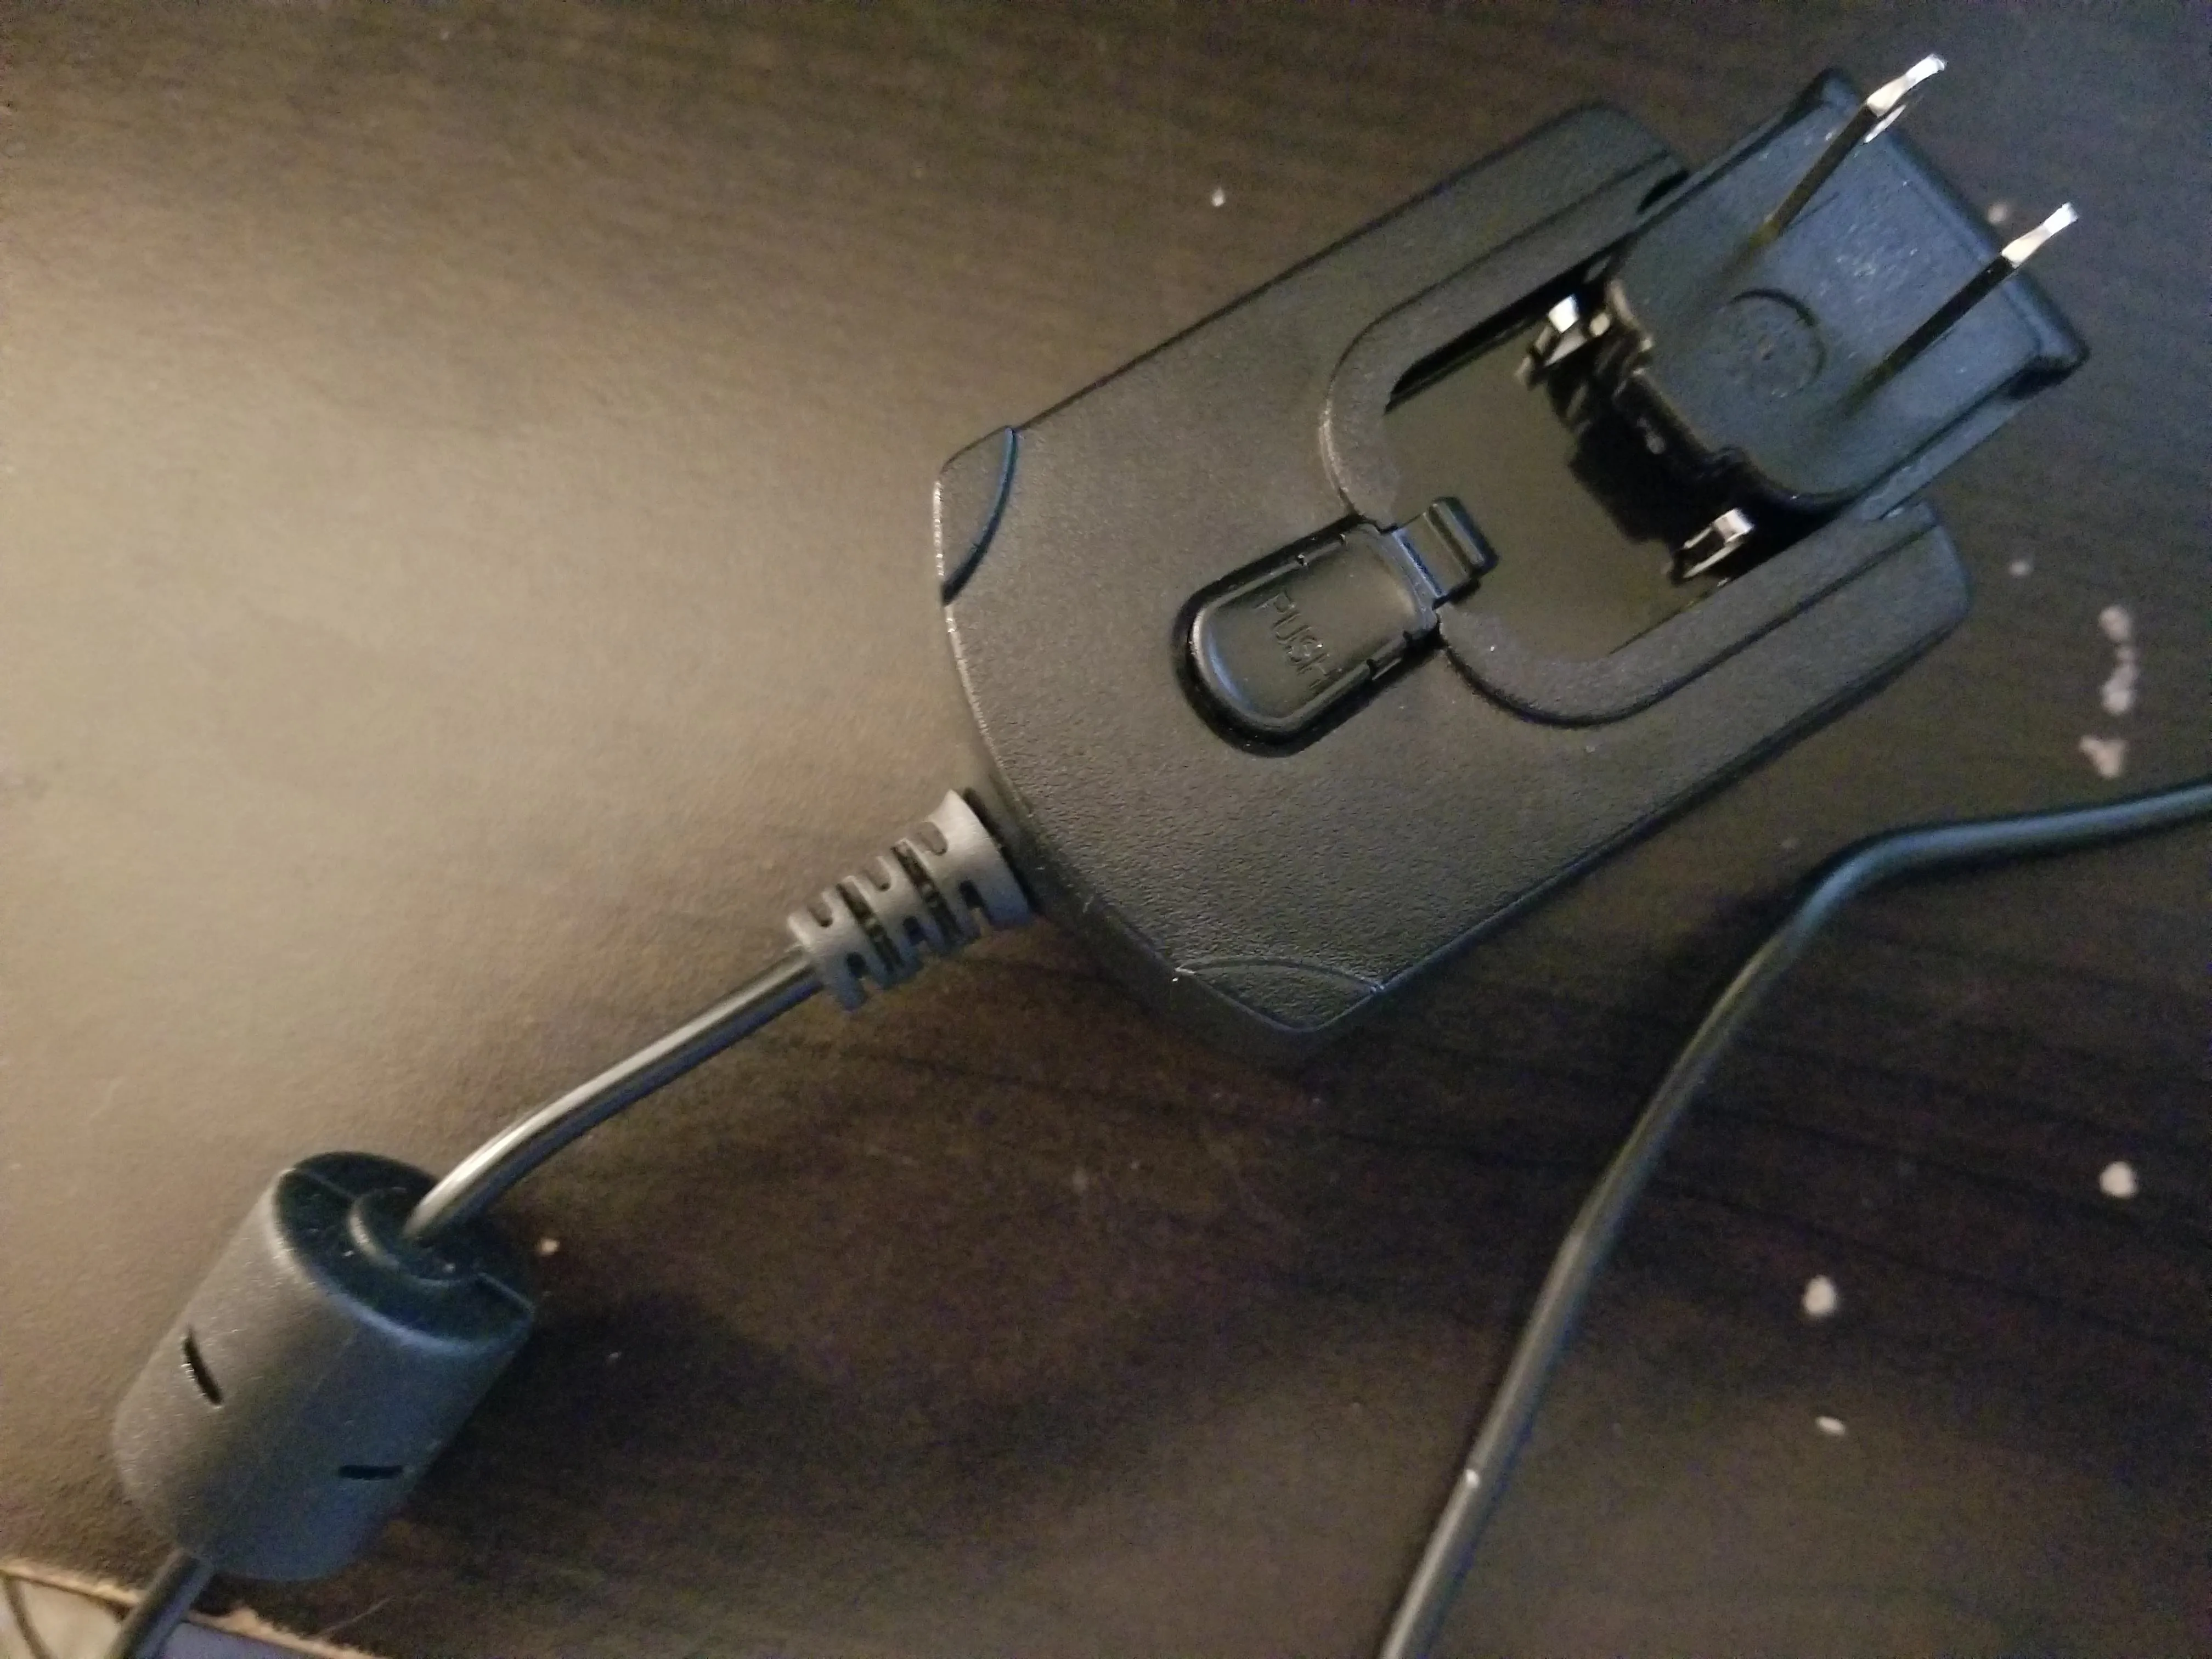
Now it's time to connect and get going. Slide the appropriate power adapter for your country into the power supply, then connect to a power outlet.
Jason Odom/Next Reality
Jason Odom/Next Reality
Jason Odom/Next Reality
Jason Odom/Next Reality
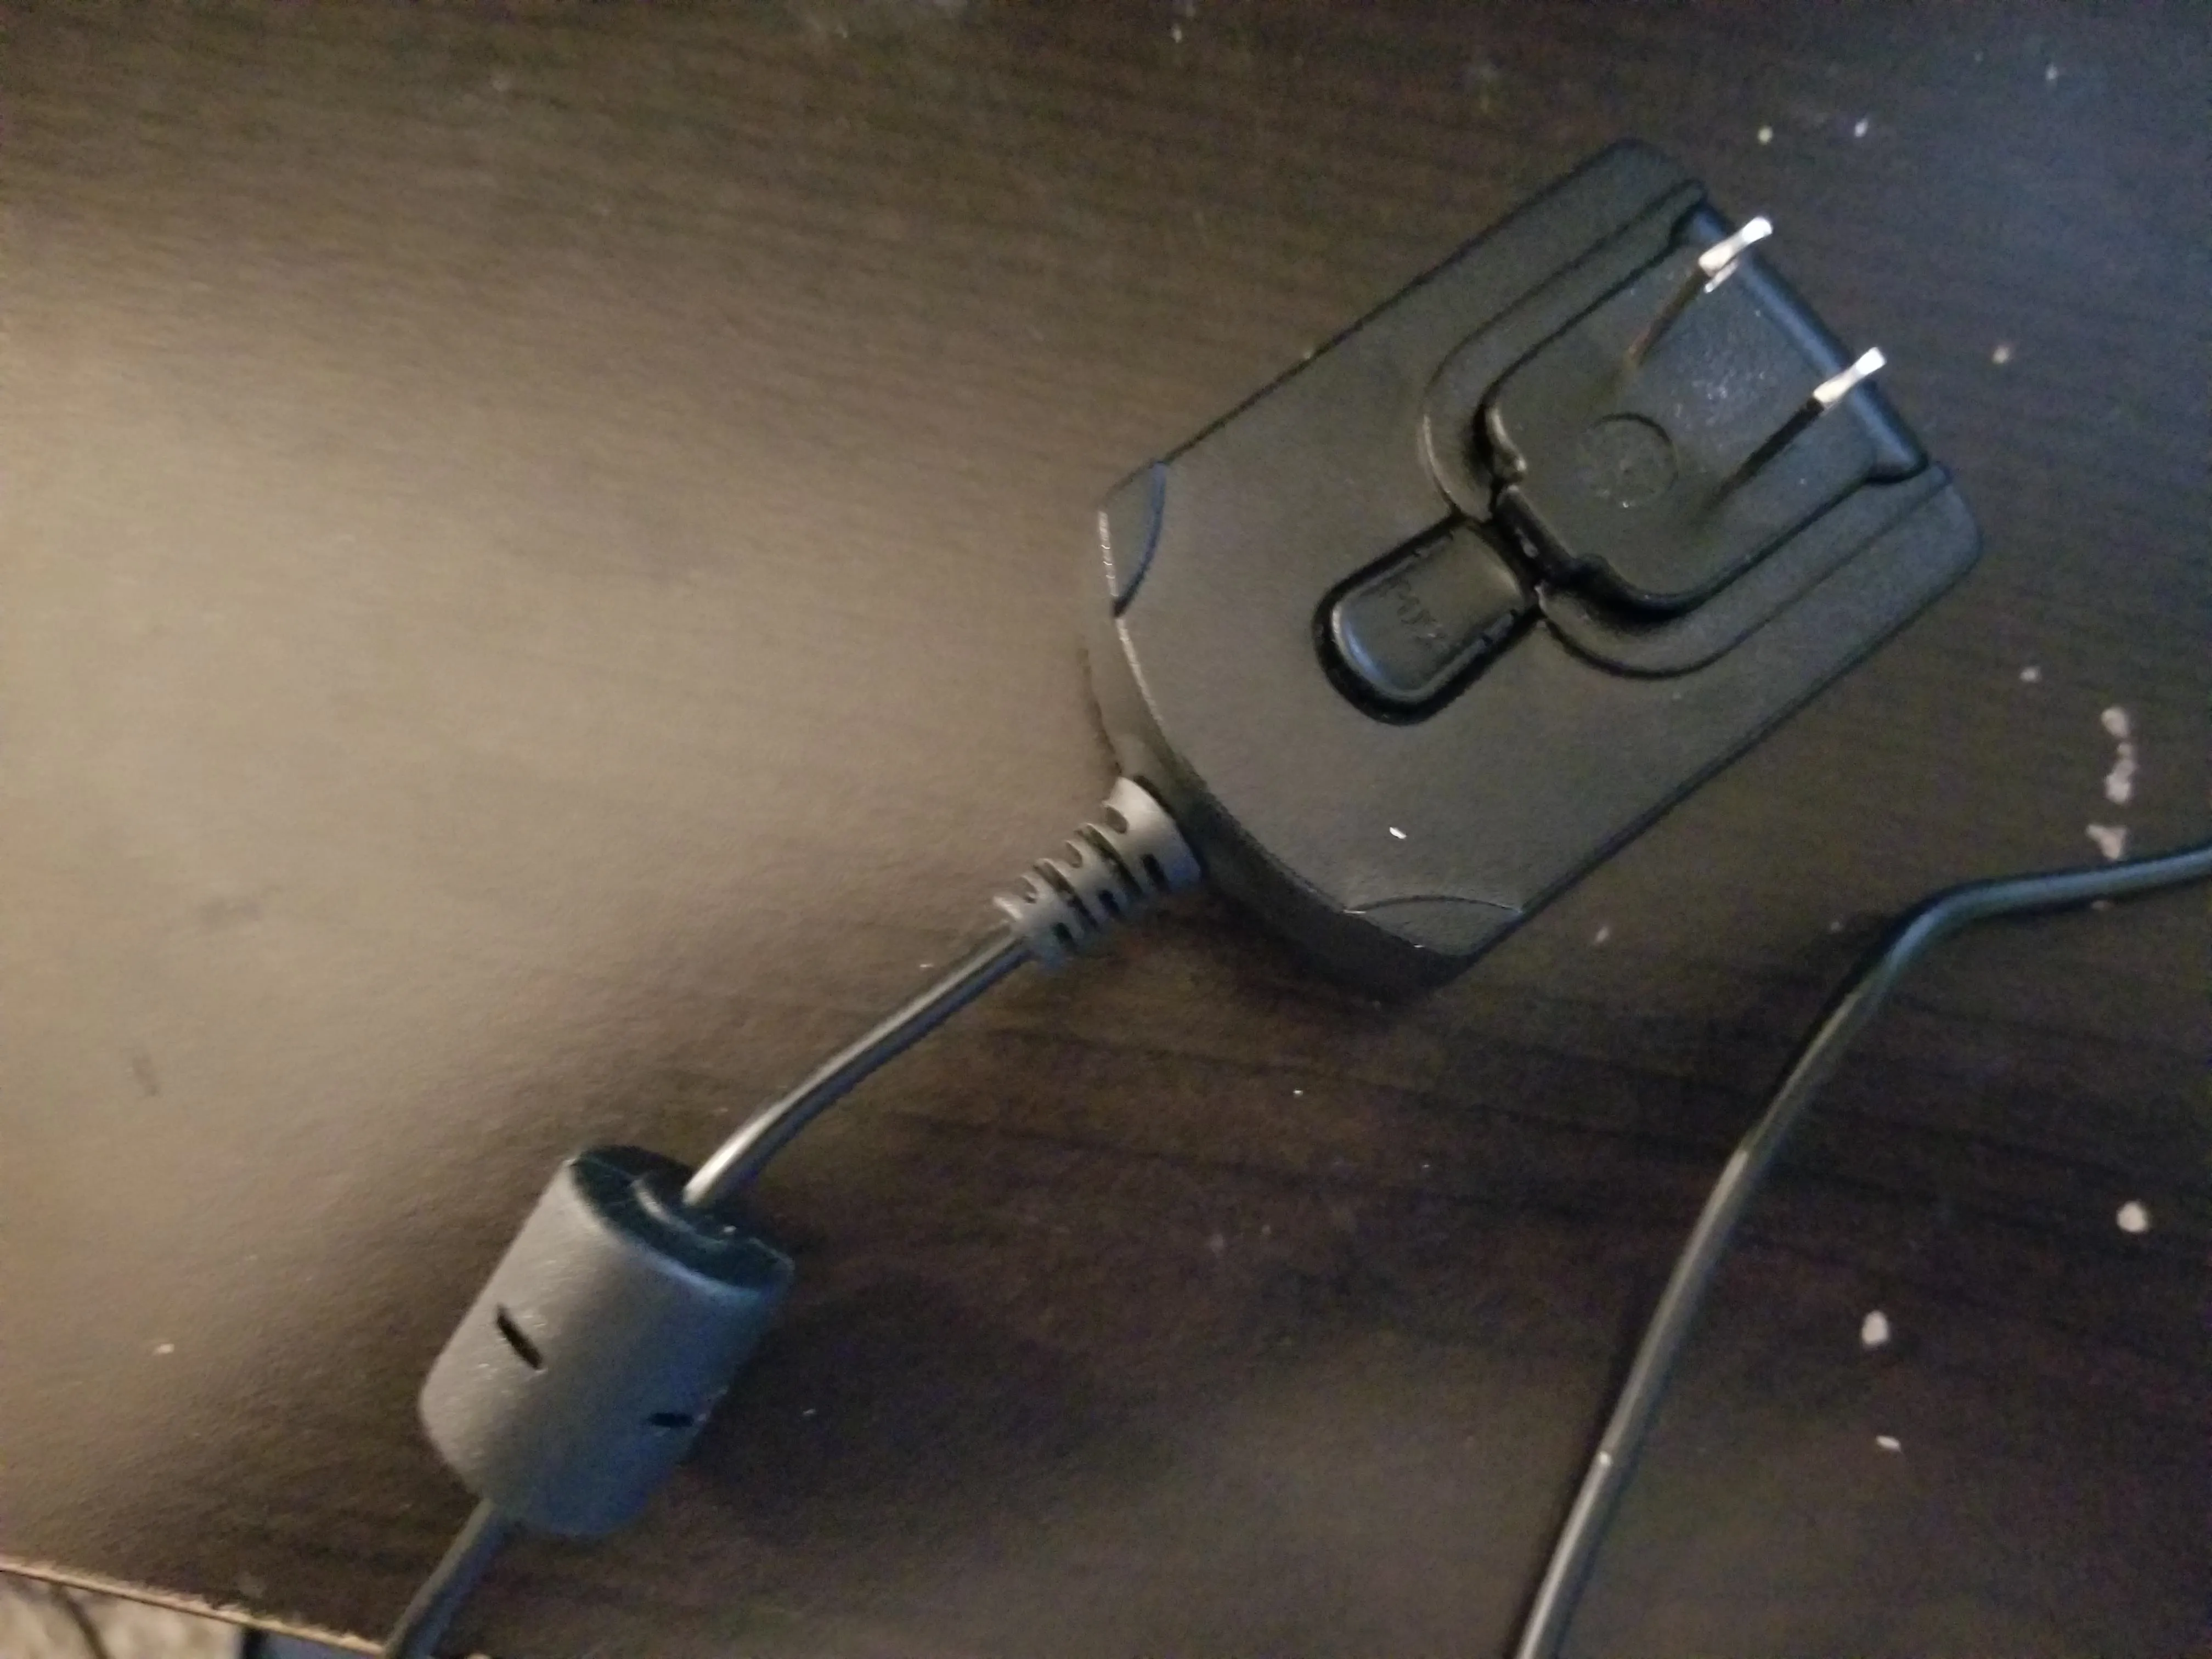
Connect the other end of the power supply to the Meta 2 connection junction.
Jason Odom/Next Reality
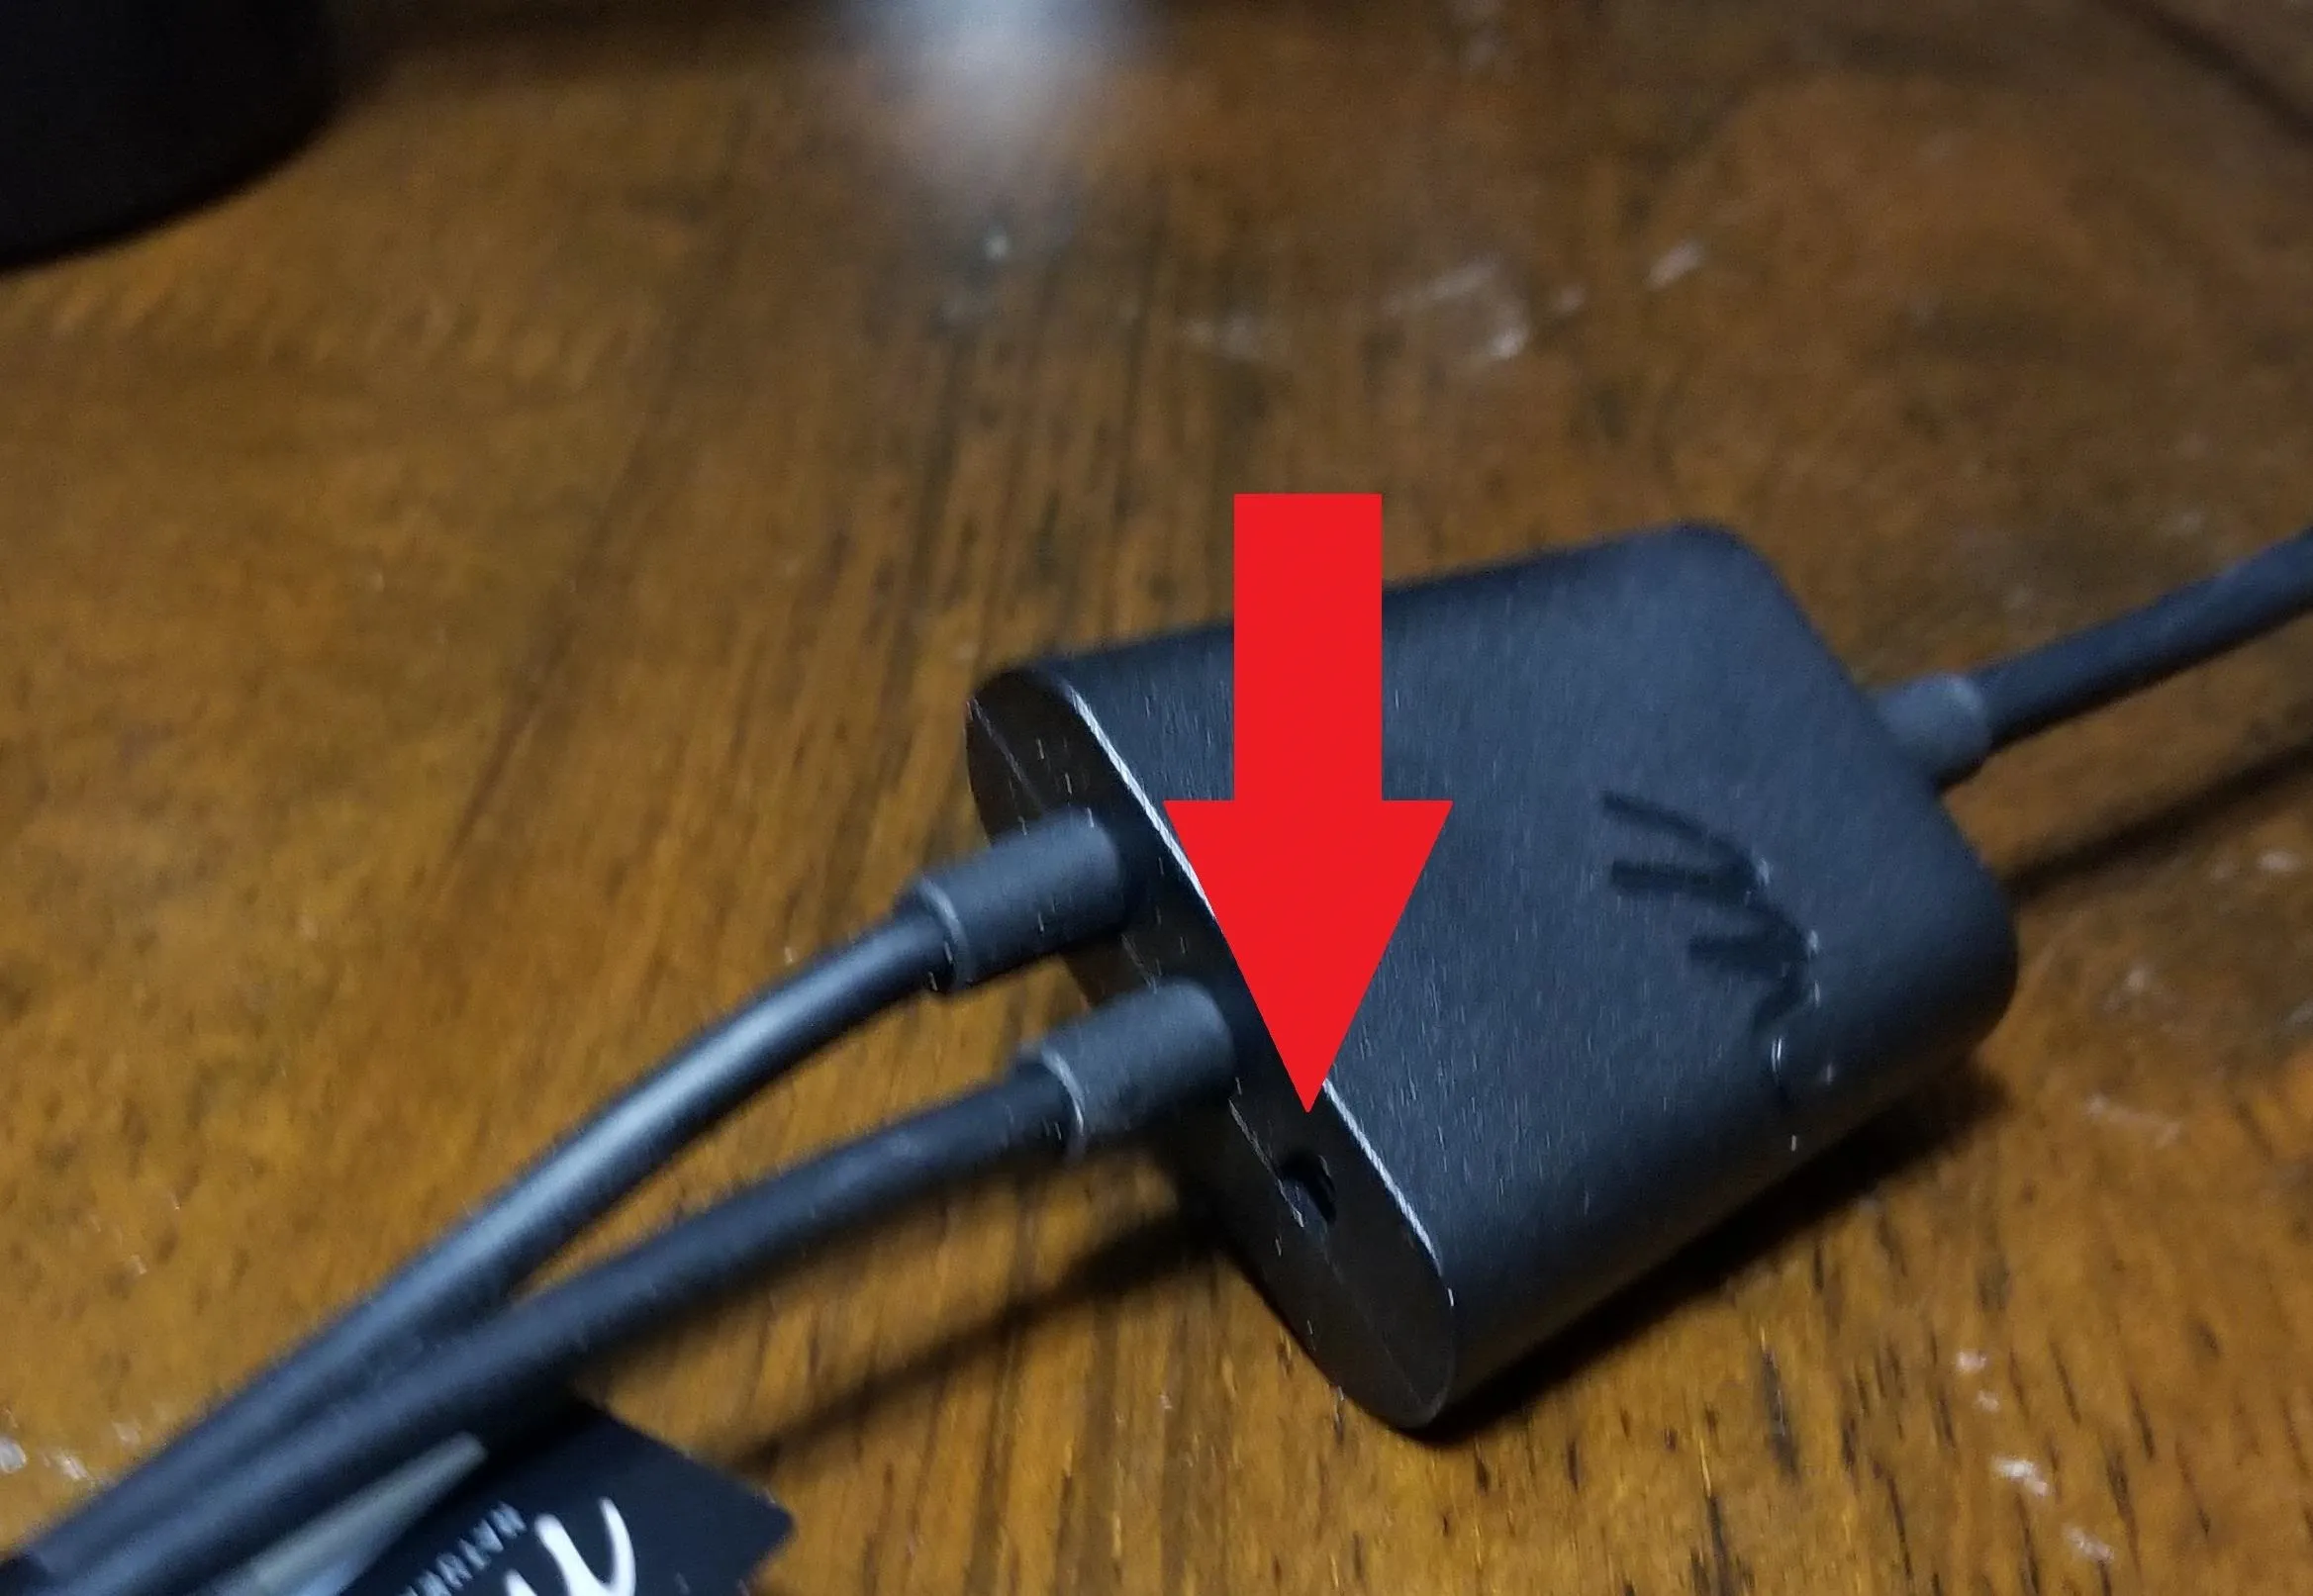
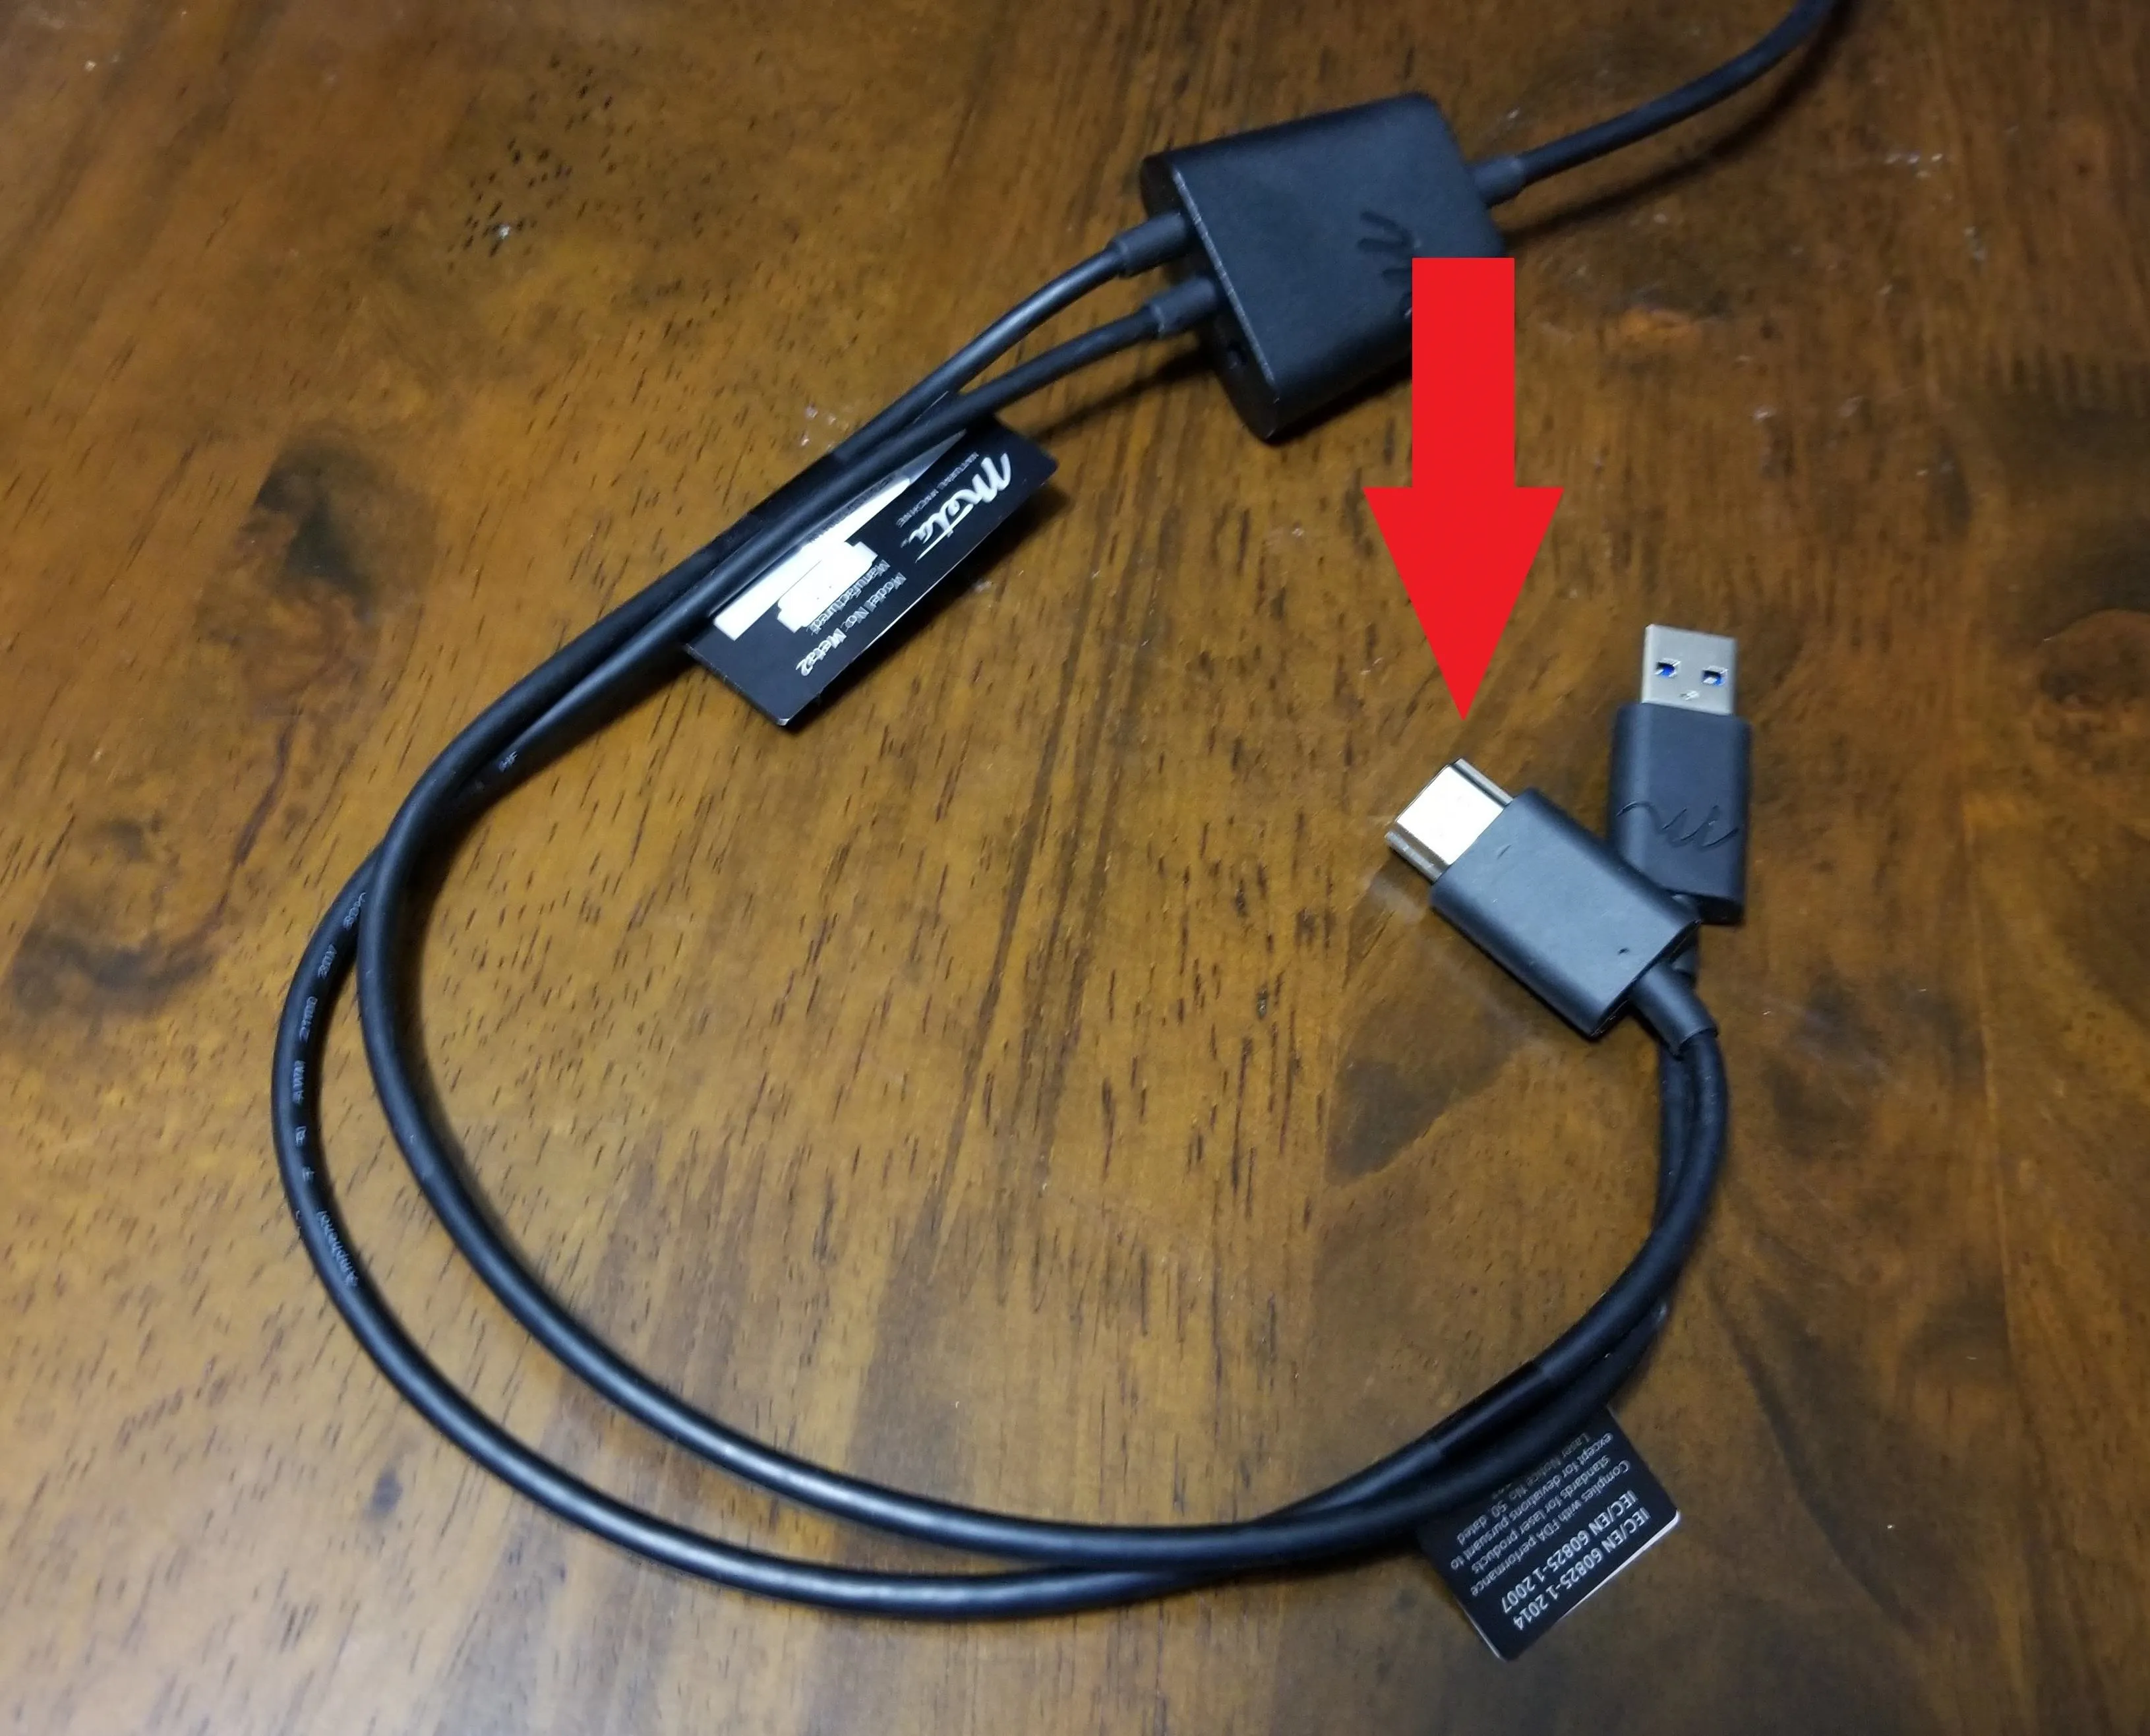
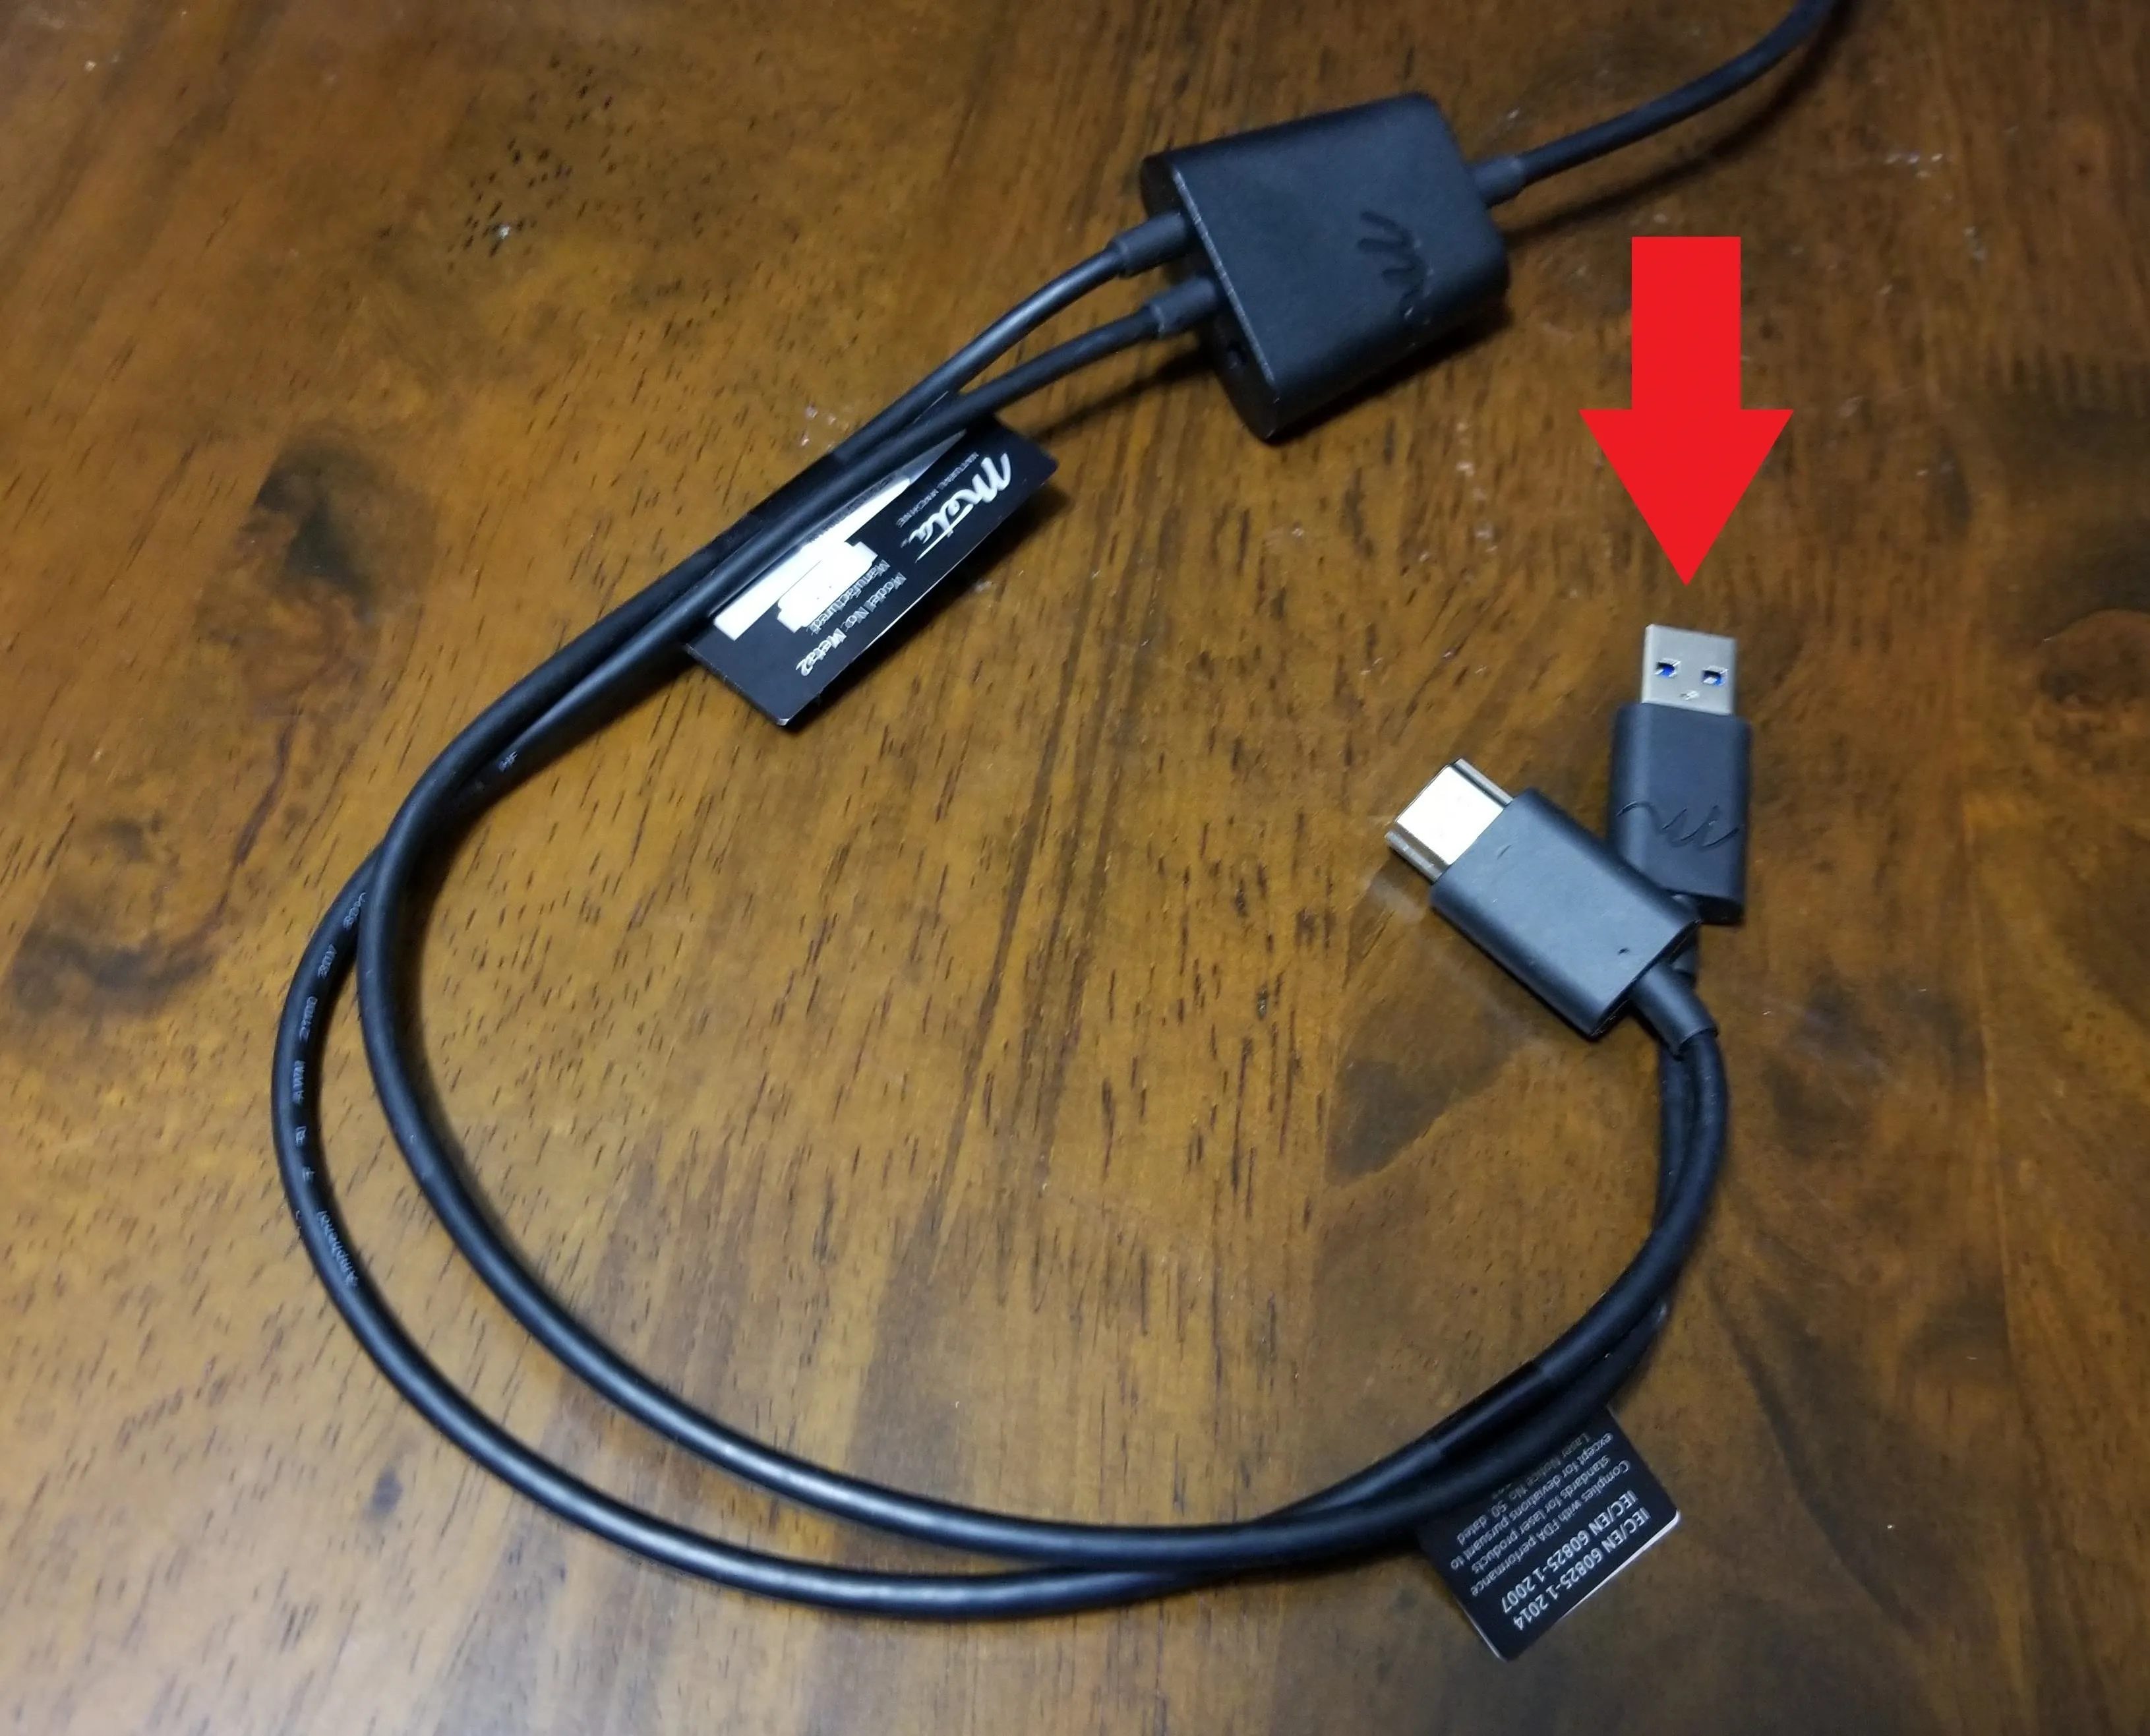
Now that we have power connected to the headset, take the HMDI connector and plug it into your computer. Follow that up by plugging in the USB cable alongside it.
Jason Odom/Next Reality
Jason Odom/Next Reality
Jason Odom/Next Reality
Jason Odom/Next Reality
Windows 10 should install the drivers for the device and you should see the desktop background appear in the view of the Meta 2. This is normal and will appear this way until you actually have a compatible app running.
Start Testing It Out
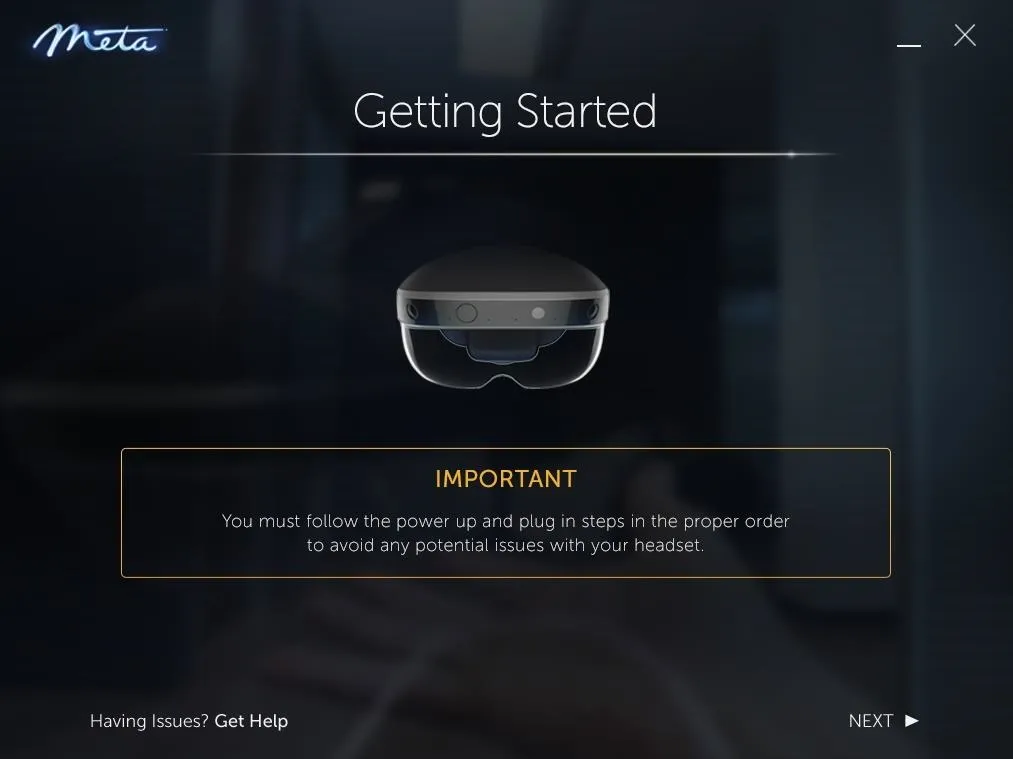
There's not much to this, so we're just about done already. Run the "Meta Headset Setup" application on your computer.
The application will run you through the connection process and ensure that it's working. Afterword, the program will run an application to adjust the visual elements of the display.
Afterward, run the "Meta Workspace" app to give your new device a real run-through.
Meta
And that's it. Now that you're set up and ready to go, enjoy yourself.
Just make sure to stay tuned here to Next Reality, as we'll be implementing some Meta 2 development guides. I'll also be reporting on my attempts on connecting Meta 2, Windows Mixed Reality devices (immersive and non-immersive), and mobile devices together in one Unity-driven system, which will hopefully turn into a nice guide as well. Wish me luck.
- Follow Next Reality on Facebook, Twitter, and YouTube
- Sign up for our new Next Reality newsletter
- Follow WonderHowTo on Facebook, Twitter, Pinterest, and Google+
Cover image via Meta/YouTube
Screenshots by Jason Odom/Next Reality


Comments
Be the first, drop a comment!